

Download pre-built APK
Sideload the app onto a device running Android 9.0 (API 28) or later, without building it. To build from source, follow the steps below.
What you’ll build
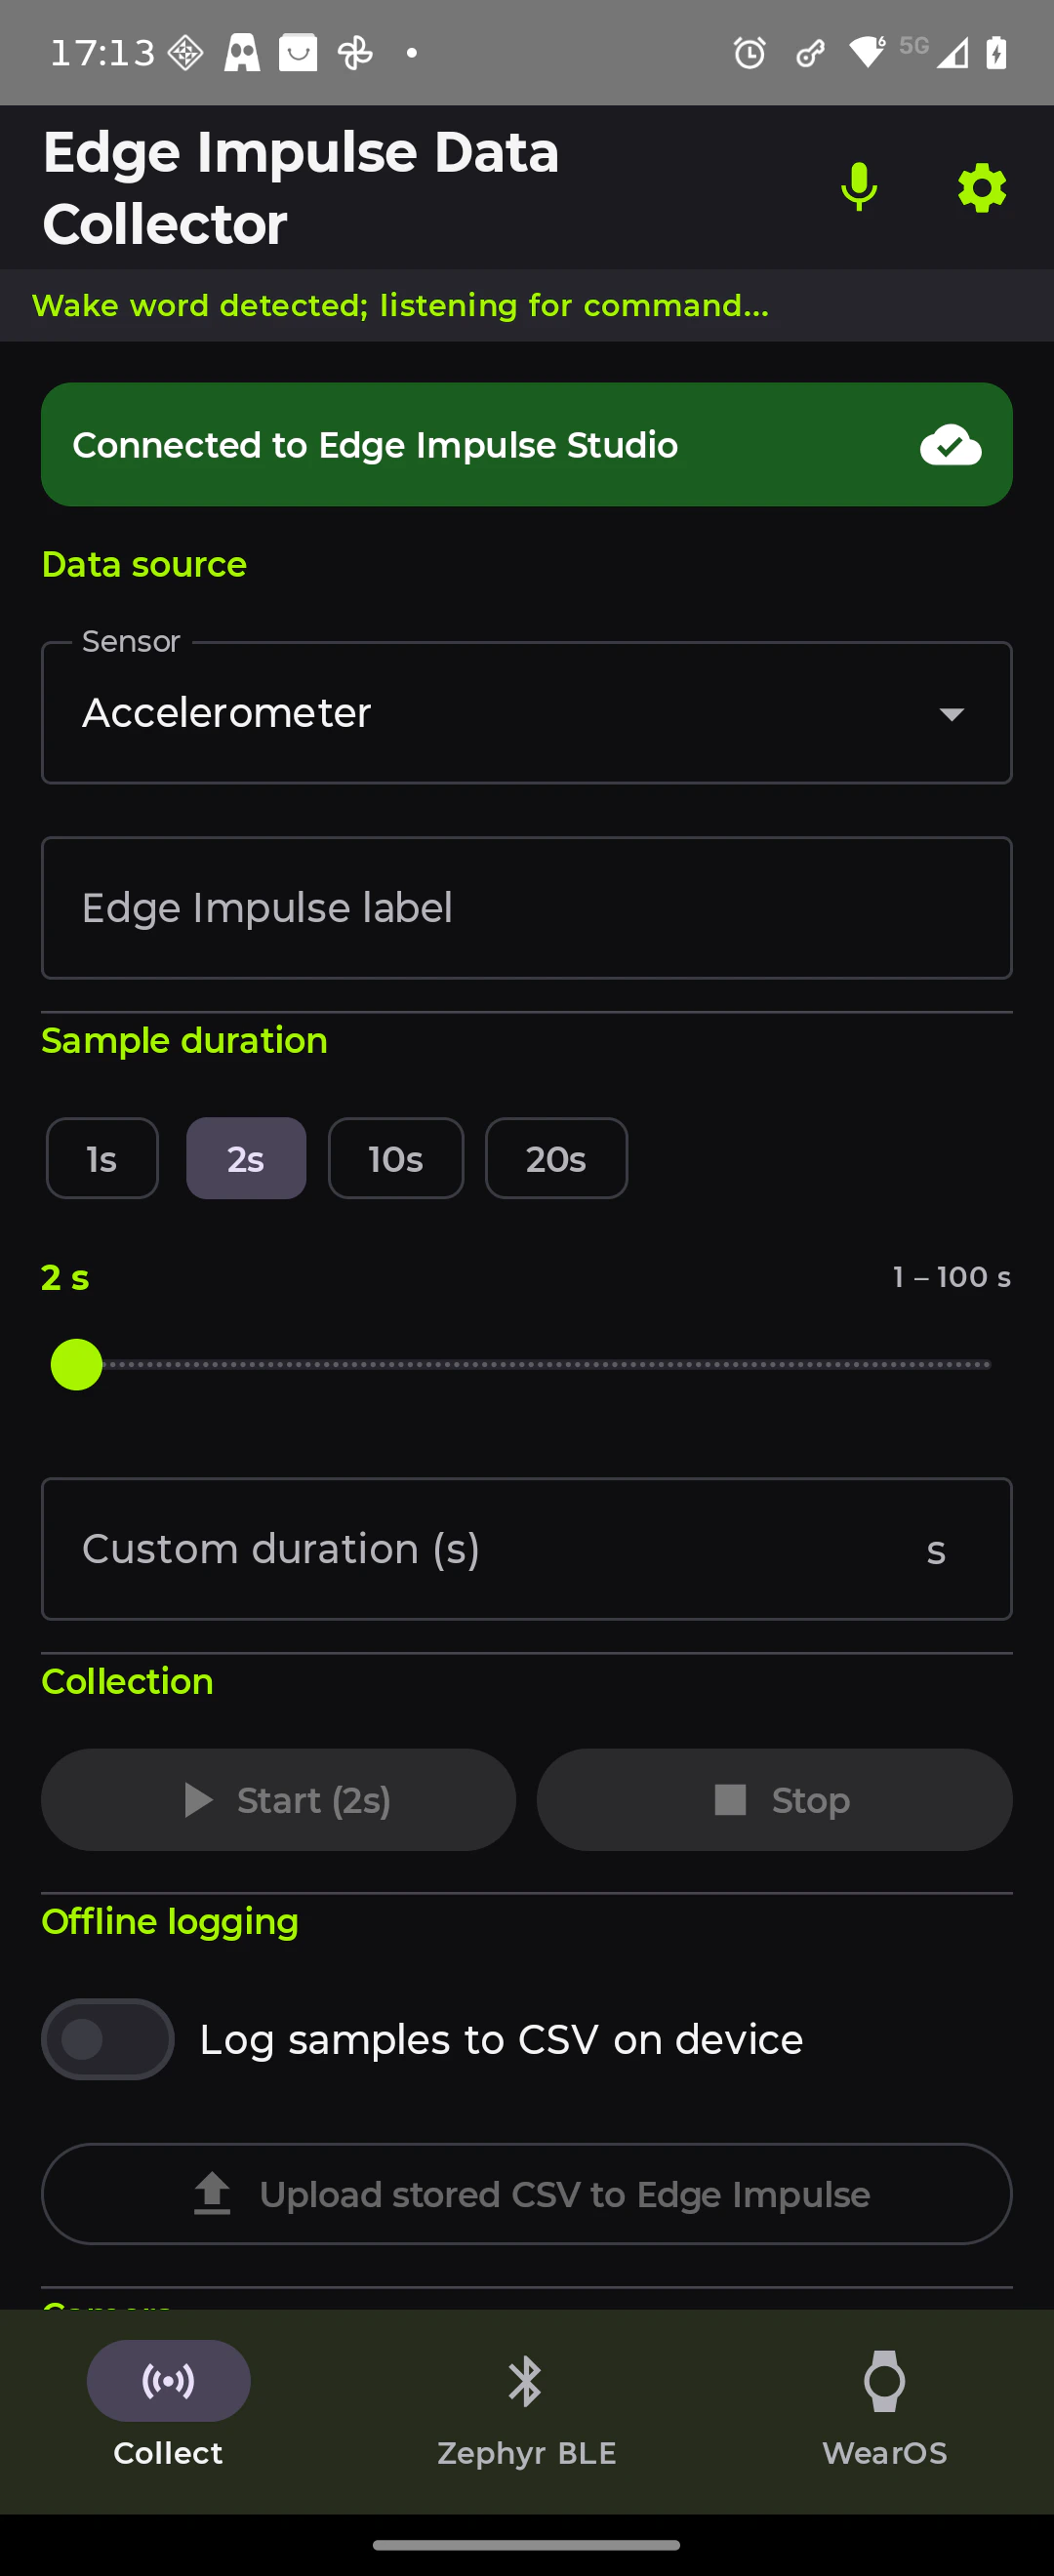
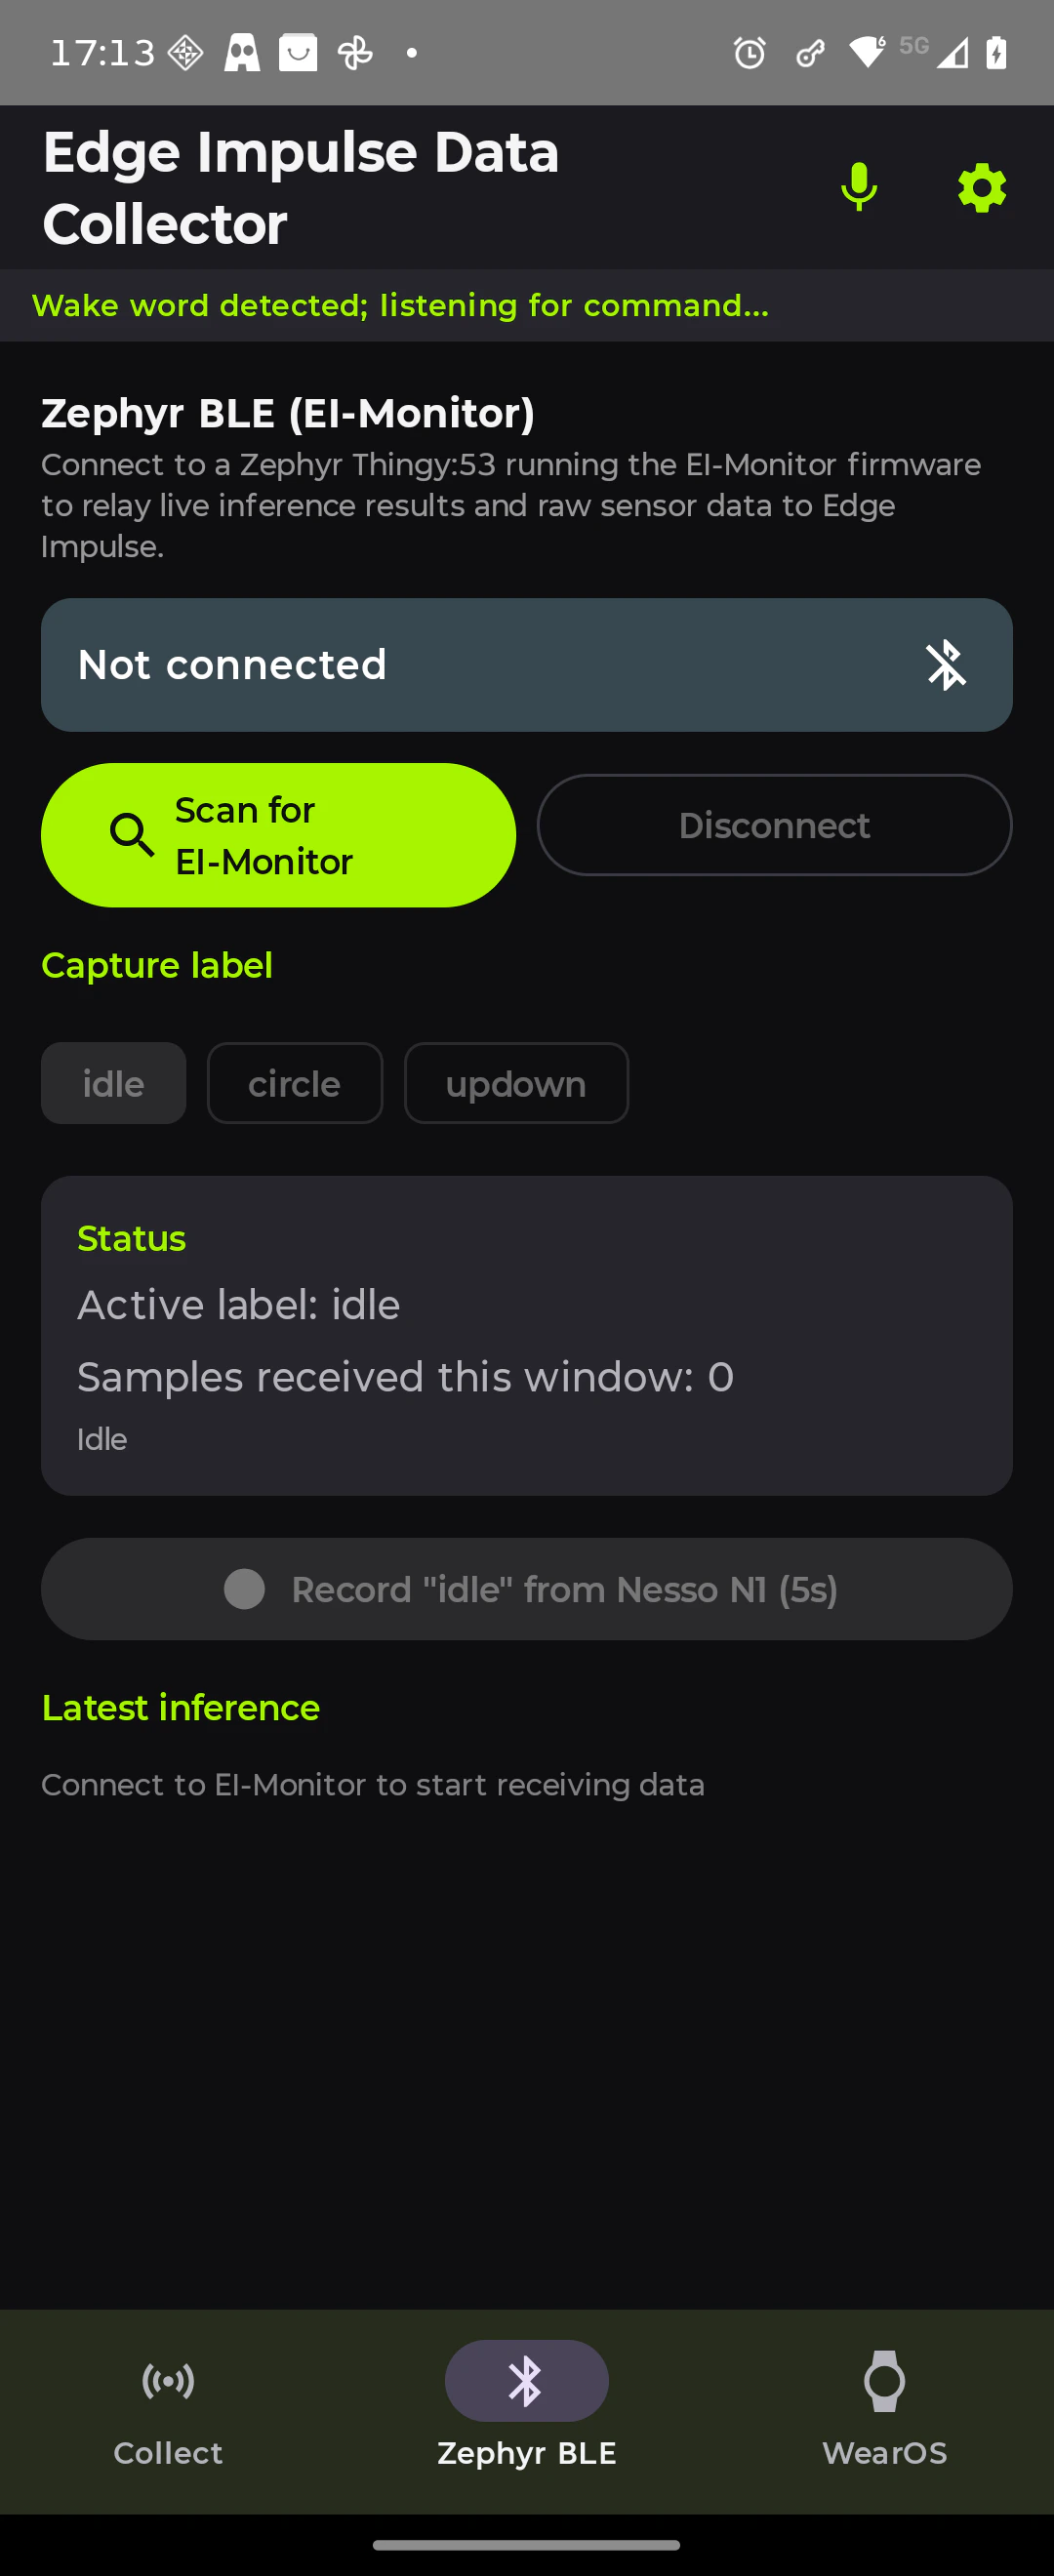
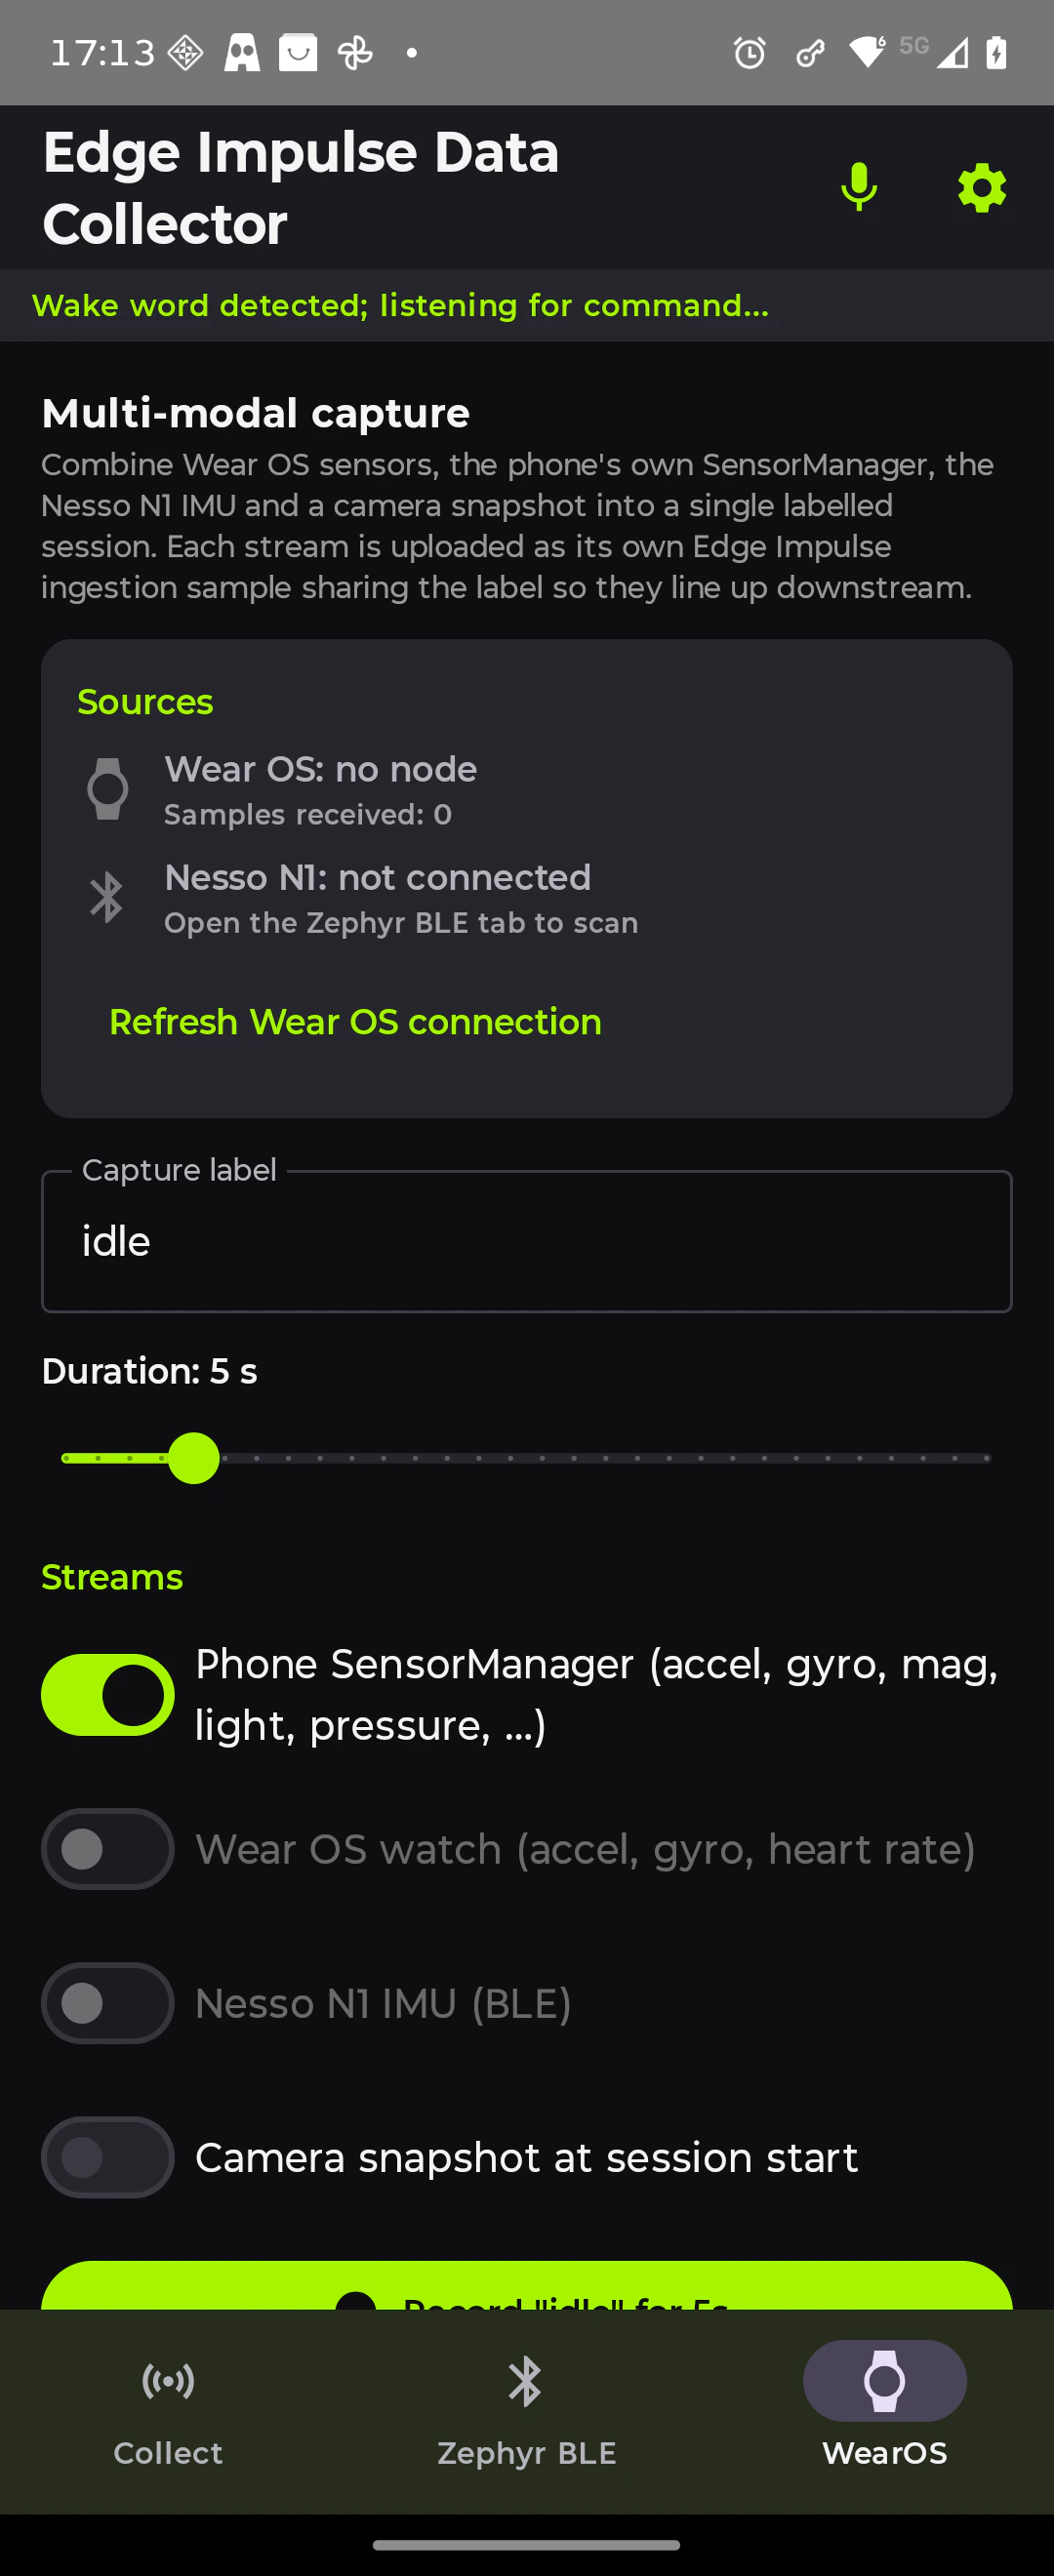
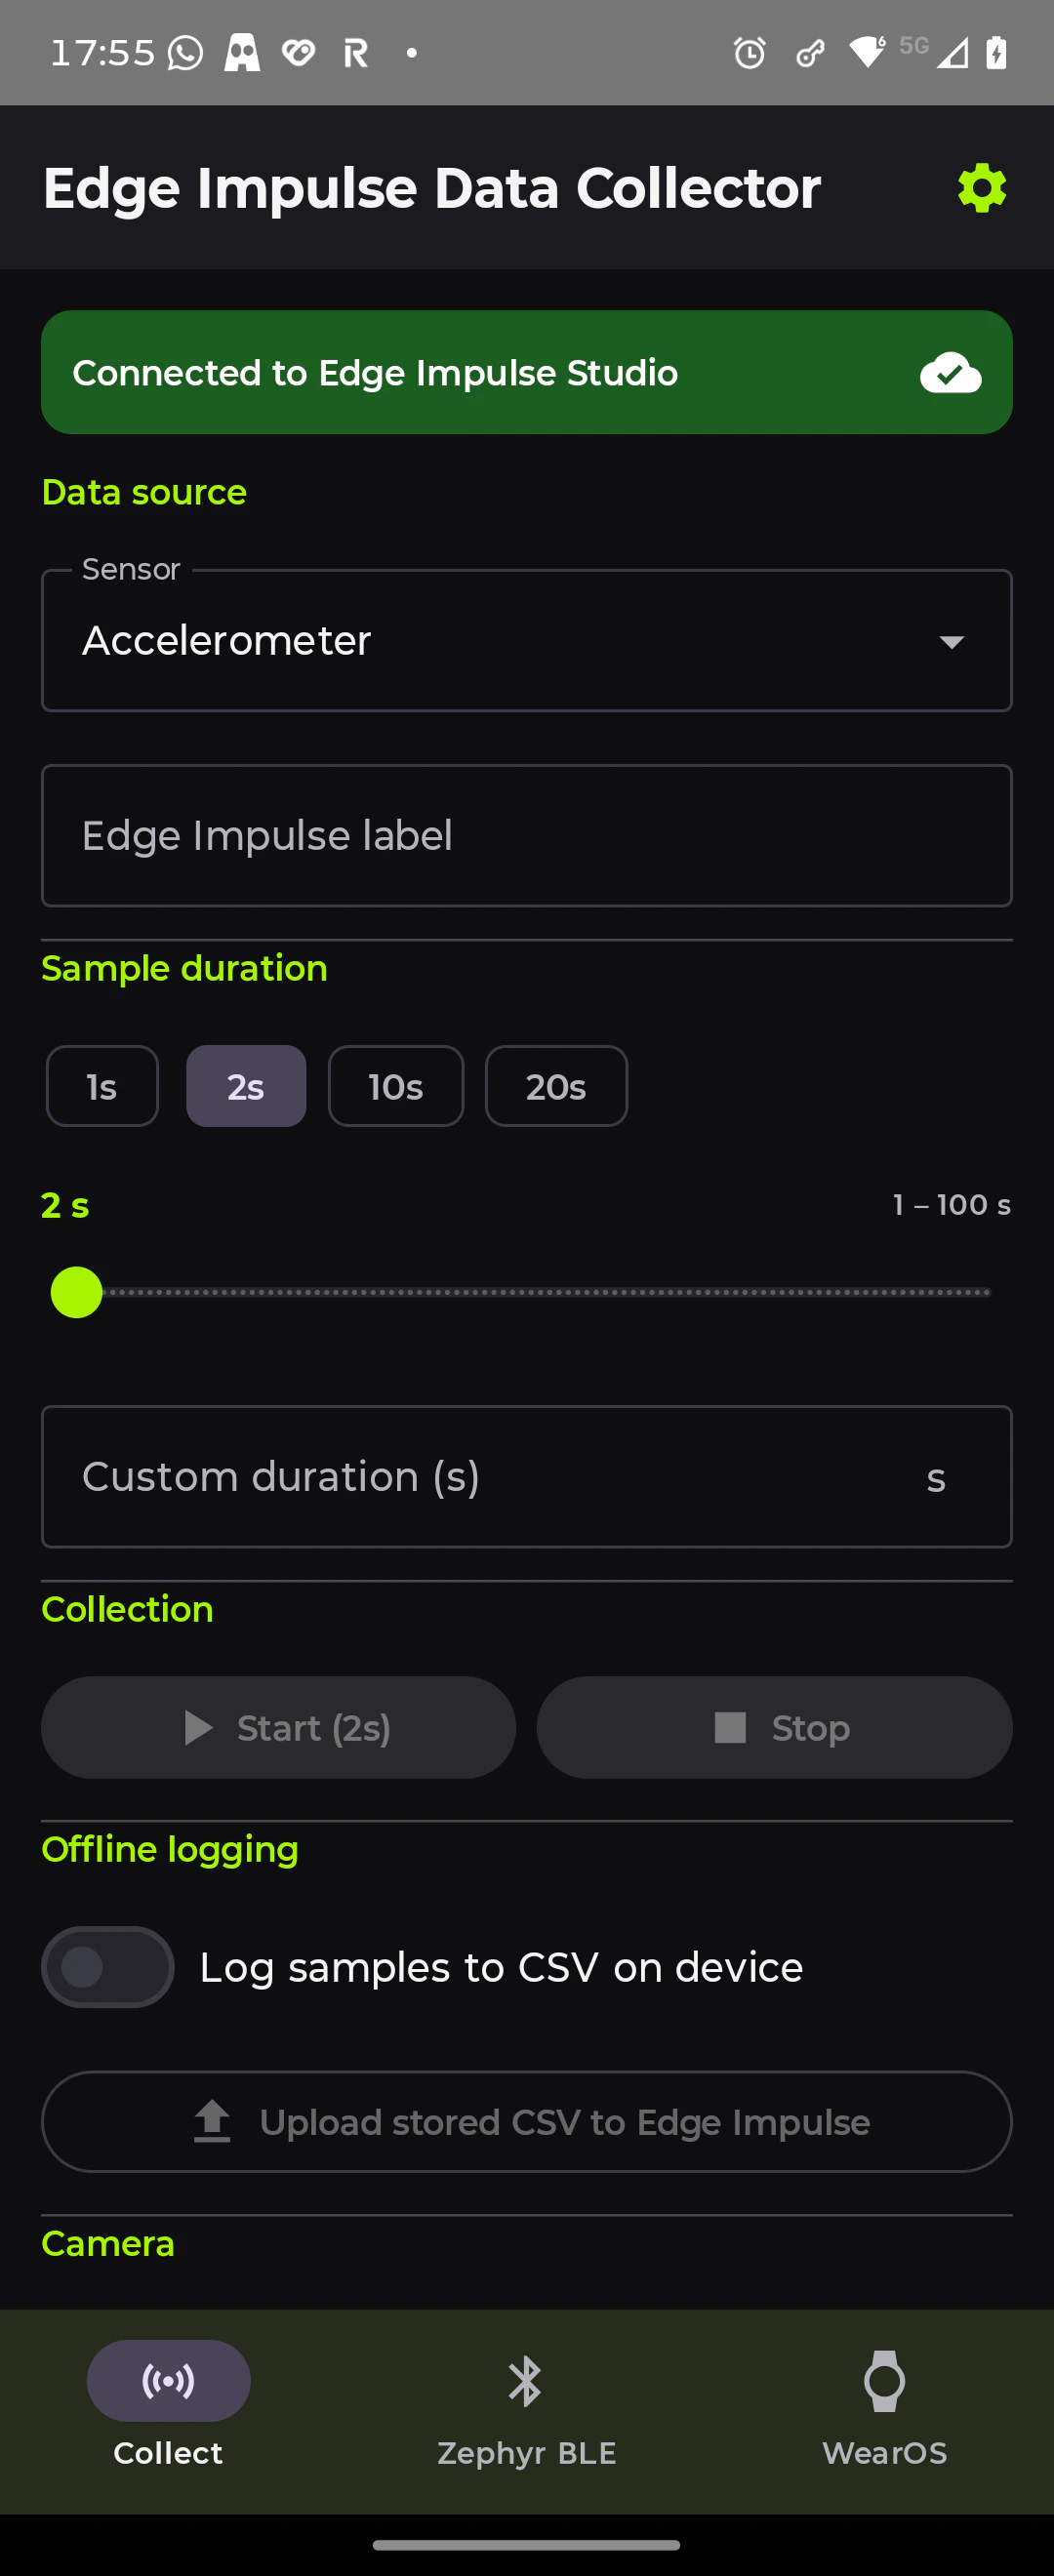
An Android app with four tabs:Prerequisites
- An Edge Impulse account
- An Edge Impulse project and API key
- Android Studio (Ladybug 2024.2.2 or later)
- An Android device running Android 9.0 (API 28) or later. Voice commands use on-device speech recognition on API 31 and later
- For the Zephyr BLE tab: a device flashed with
ei-zephyr-ble-gatt-client - For the WearOS tab: a paired Wear OS watch with the companion module installed
- For the USB OTG tab: a supported Arduino board flashed with the matching sketch from
sample-arduino/, and a USB OTG adapter for your phone
1. Clone the repository
2. Get your API key
- Open your project in Edge Impulse Studio.
- Go to Dashboard -> Keys.
- Click Add new API key and copy it (
ei_xxxxxxxxxxxxxxxxxxxxxxxxxxxxxxxx).
3. Configure the API key
Add your key to~/.gradle/gradle.properties, which keeps it out of source control:
gradle.properties in the project root, but do not commit that file.
4. Build and install
Install the Wear OS companion (optional)
To use the WearOS tab, install thewearosdatalogger module on your watch over Wi-Fi with adb:
- On the watch, go to Settings -> Developer options and turn on Wireless debugging.
- Tap Pair new device and note the IP:port and the 6-digit pairing code displayed.
-
On your computer, connect to the same Wi-Fi network as the watch (not a guest or isolated network), turn off any VPN, and run:
-
Build and install the watch APK, targeting the watch by serial:
Or build and install in one command:
ANDROID_SERIAL=$WATCH ./gradlew :wearosdatalogger:installDebug.
5. Collect sensor data
- Open the app and go to the Collect tab.
- Enter an Edge Impulse label, for example
walking,idle, orrunning. The sample gets this label in your project. - Select a Sensor:
AccelerometerorPPG (Heart Rate). - Tap Start. The live sensor values appear on screen.
- Tap Stop. The sample uploads to your project.
- Repeat with different labels to build a balanced dataset.
Aim for at least 2 to 3 minutes of data per class. The studio splits recordings into windows when you create your impulse.
6. Capture images
On the same Collect tab:- Enter a label, for example
crackorno_crack. - Tap Capture & upload image. The rear camera takes a photo and uploads it with that label.
- Repeat to build an image dataset for classification or object detection.
7. Offline logging
If you have no data connection, log samples on the device and upload them later:- Enable Log samples to CSV on device.
- Tap Start and Stop as usual. The samples are saved to a local CSV file.
- When you’re back online, tap Upload stored CSV to Edge Impulse to upload them all.
8. Multi-modal capture and auto source priority
The Multi-modal capture card on the Collect tab records from connected sources for a fixed duration and uploads each stream with the same label. By default, the app uses the highest-priority source that’s connected:
Turn on Camera snapshot to also take one photo at the start of each capture. The app uploads the photo from memory without writing it to disk.
9. Voice control (“Hey Android”)
You can start and label captures by voice, for example when the phone is strapped to a wrist, helmet, or dashboard. The app combines ahey_android wake word model trained in Edge Impulse with Android’s SpeechRecognizer.
-
Tap the microphone icon in the top app bar and grant the
RECORD_AUDIOpermission. The icon turns blue and a status banner appears under the tab bar. - Say “Hey Android”. Wake word detection pauses and the speech recognizer listens for a command.
-
Say a command in the form “capture N seconds with label LABEL”, for example:
- “capture 5 seconds with label idle”
- “record 10 seconds with label updown”
- “start 20 seconds with label circle”
capture,record, orstart. The duration can be digits or a spelled-out number up to sixty. The parser recognizes the labelsidle,updown(also “up down”), andcircle. To add labels, editvoice/VoiceCommandParser.kt. - The app records from the highest-priority connected source and uploads the sample with the label you said. Wake word detection resumes about 300 ms after the capture ends.
The wake word model runs on the device with the Edge Impulse C++ SDK and needs no network. Speech recognition uses Android’s on-device recognizer on API 31 and later, and falls back to the network recognizer on devices without one.
10. Connect a Zephyr device (optional)
The Zephyr BLE tab scans for a device that advertises asEI-Monitor and runs the ei-zephyr-ble-gatt-client firmware.
What the firmware sends depends on the board. Each board’s .conf file sets CONFIG_EI_SENSOR_LOCAL:
- Flash the firmware to your board. See the BLE GATT client tutorial.
- Open the Zephyr BLE tab.
- Tap Scan for EI-Monitor. The device appears in the list.
- Tap the device to connect. The banner turns green.
Connected to EI-Monitor with inference results streaming in
- The app uploads raw IMU windows and labeled inference results to your project as they arrive.
The app uploads an inference result only after it receives at least one raw sensor window on the same connection. If a result appears on screen but doesn’t upload, check that the firmware exposes the sensor characteristic. The app subscribes to it when it connects.
inference_result_t binary notification from the firmware:
11. Connect a USB OTG Arduino device
The USB OTG tab makes the phone a USB host that reads CDC-ACM serial data from any Arduino that implements the wire protocol below. It needs no BLE, Wi-Fi, or network connection.Supported boards and sketches
All sketches are in thesample-arduino/ directory of the repository.
Wire protocol
All sketches send the same text protocol at 115200 baud:! header and switches to image capture when it sees an IMG: header.
Flash and connect
- Open the sketch for your board in the Arduino IDE.
- Set the
#defineat the top of the file to match your board variant. - Install the libraries listed in the sketch header from Tools -> Manage Libraries.
- Upload the sketch.
- Connect the board to the phone through a USB OTG adapter. For boards without native USB, such as the UNO classic and ESP32-CAM, use an FTDI, CP2102, or CH340 USB-serial adapter.
- Open the USB OTG tab in the app. The app detects the board and starts streaming IMU data.
Nano 33 BLE Sense + TinyML Kit (IMU + camera)
Thenano33ble_ai_kit_otg sketch adds camera capture from the OV7675 on the Arduino TinyML Kit shield. IMU streaming starts on boot. Control the camera with these serial commands, sent from the USB OTG tab or any serial monitor at 115200 baud:
Frame sizes: 19 200 bytes (GRAYSCALE 160 × 120) or 38 400 bytes (RGB565 160 × 120).
The Nano 33 BLE connects as a CDC-ACM device, so it doesn’t need a USB-serial adapter. Use
BOARD_NANO33BLE for Rev1 (LSM9DS1) or uncomment BOARD_NANO33BLE_REV2 for Rev2 (BMI270 + BMM150). To set the pixel format, edit the CAM_FORMAT define or send g at runtime.12. Verify your data in Edge Impulse Studio
- Open your project in studio.edgeimpulse.com.
- Go to Data acquisition. Your samples appear with their labels, timestamps, and sensor axes.
- Check the split between training and test data.
- Go to Create impulse to design and train your model.
How it works
Data collector system architecture
DataRepository, so every upload takes the same path.
Data flows
Permissions
The app requests these permissions on first launch. If you deny one, only the feature that needs it stops working.Troubleshooting
Zephyr BLE device not appearing in scan
Zephyr BLE device not appearing in scan
- Check that the device is advertising. In a serial monitor, look for
Advertising as EI-Monitor. - On Android 12 and later, grant
BLUETOOTH_SCANandBLUETOOTH_CONNECTin Settings -> Apps -> Edge Impulse Data Collector -> Permissions. - On earlier Android versions, grant
ACCESS_FINE_LOCATION, which Android requires for BLE scanning. - Check that Bluetooth is on and the device is within about 10 m.
BLE connects but no data arrives
BLE connects but no data arrives
- Check the Zephyr serial log for
BLE GATT server started. - Check that the firmware’s GATT service UUID matches the one in
GattProfile.kt:12345678-1234-5678-1234-56789abcdef0. - Disconnect and reconnect. The notification subscription sometimes fails on the first connection.
Camera capture does nothing
Camera capture does nothing
Grant the
CAMERA permission in Settings -> Apps -> Edge Impulse Data Collector -> Permissions and try again. If your build is older than 25 May 2026, pull the latest source, which fixes dropped camera frames.USB OTG device not detected
USB OTG device not detected
- Check that you’re using an OTG adapter and that the cable is seated at both ends.
- Some phones don’t support USB host mode on their USB-C port. Try another OTG adapter or another phone.
- Let the Arduino finish booting the sketch before you plug it in.
- The app includes drivers for CP2102, CH340, and FTDI FT232 USB-serial chips. It might not recognize other chips.
USB OTG streams IMU but camera capture does nothing
USB OTG streams IMU but camera capture does nothing
- Check that you uploaded
nano33ble_ai_kit_otg.inooresp32_eye_otg.ino. The other sketches send IMU data only. - Tap the camera icon on the USB OTG tab, or send
c, to capture a frame. The tab doesn’t stream camera frames continuously. - Check that the OV7675 module is seated in the TinyML Kit shield connector.
- Open a serial monitor at 115200 baud. A
# ERROR: camera not availableline means the camera failed to start.
Offline CSV upload fails
Offline CSV upload fails
Fill in the Edge Impulse label field before you tap Upload stored CSV to Edge Impulse. The CSV file doesn’t store labels.
WearOS tab shows no data
WearOS tab shows no data
Install the Wear OS companion on your watch, then pair the watch again in the Wear OS app.
adb pair fails with 'protocol fault (couldn't read status message)'
adb pair fails with 'protocol fault (couldn't read status message)'
The pairing code and port work once and expire quickly. Close Pair new device on the watch, reopen it to get a new address and code, and pass both on the command line:If
nc -zv <WATCH_IP> <NEW_PORT> succeeds but adb pair still fails, the code has probably expired, so get a new one. If the port is unreachable, the watch and computer are on different networks, or a VPN or firewall is blocking the connection.Next steps
- Create an impulse with a processing block, for example spectral analysis for IMU data, and a learning block, then train it.
- Run the trained model on Android with static buffer inference, keyword spotting, or camera inference.
- Speed up inference on Snapdragon devices with QNN hardware acceleration.