

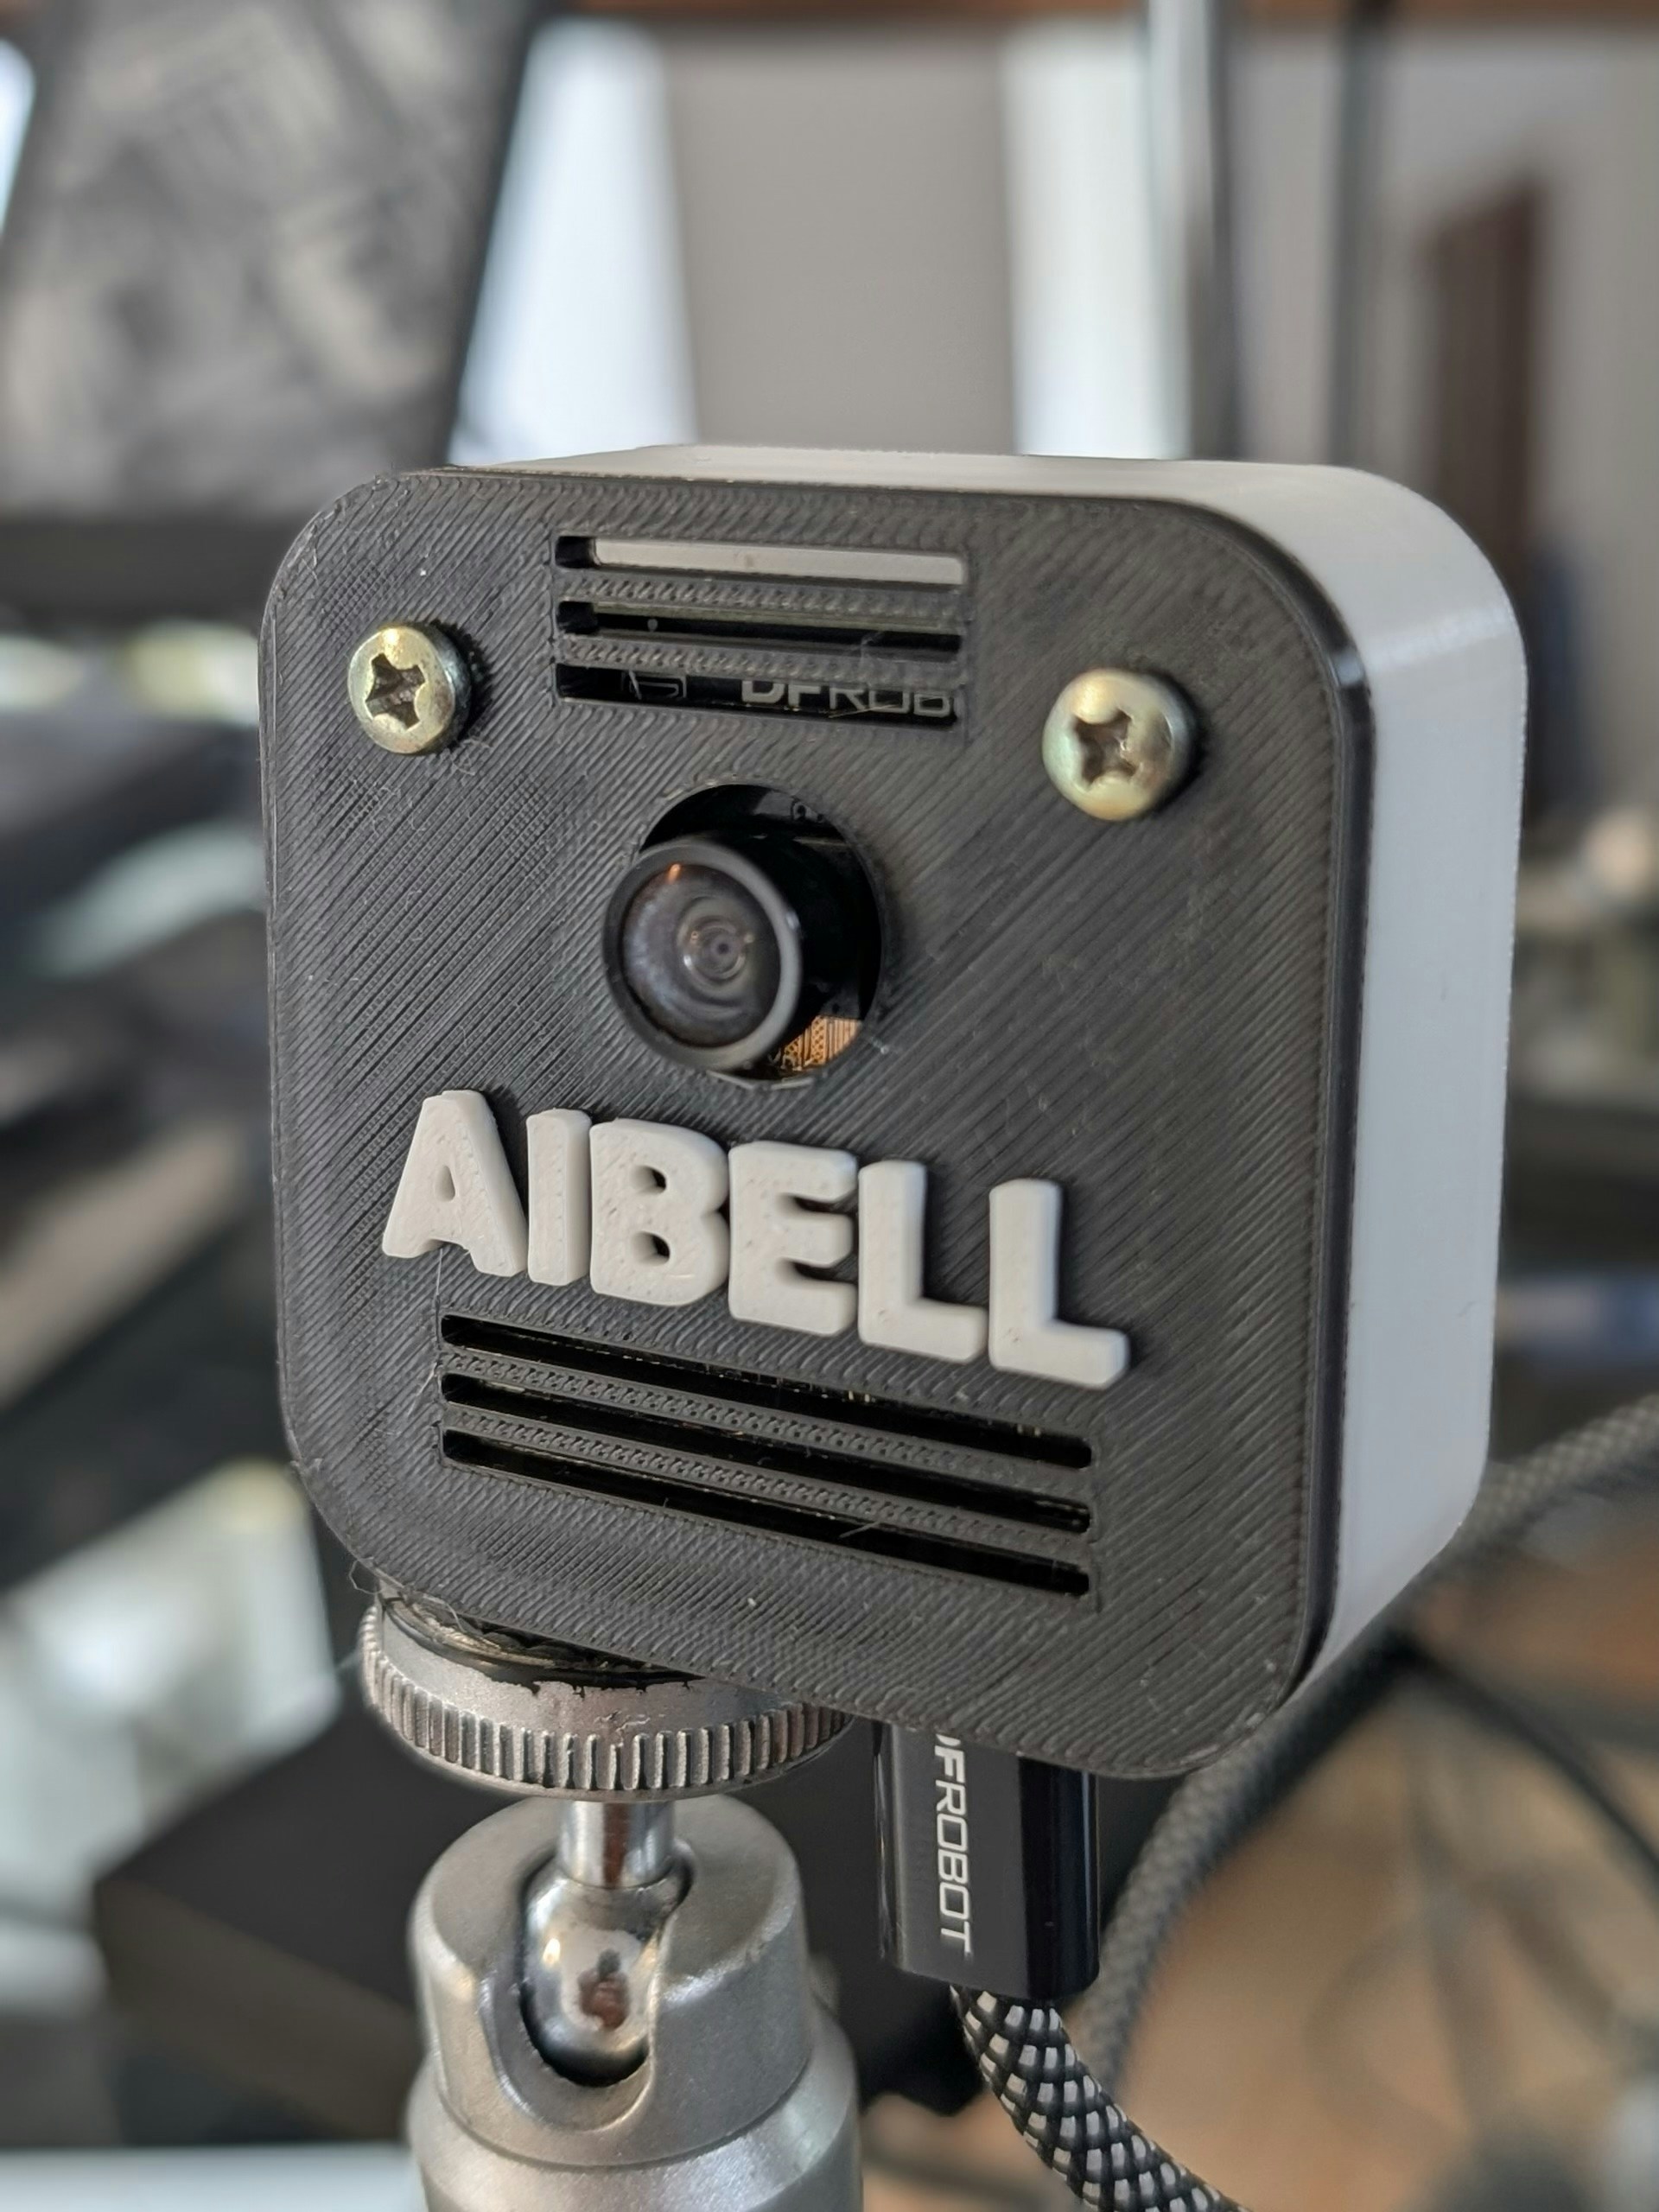
Intro
Build an AI-powered doorbell with computer vision face recognition, and LLM-based decision-making.Parts Required
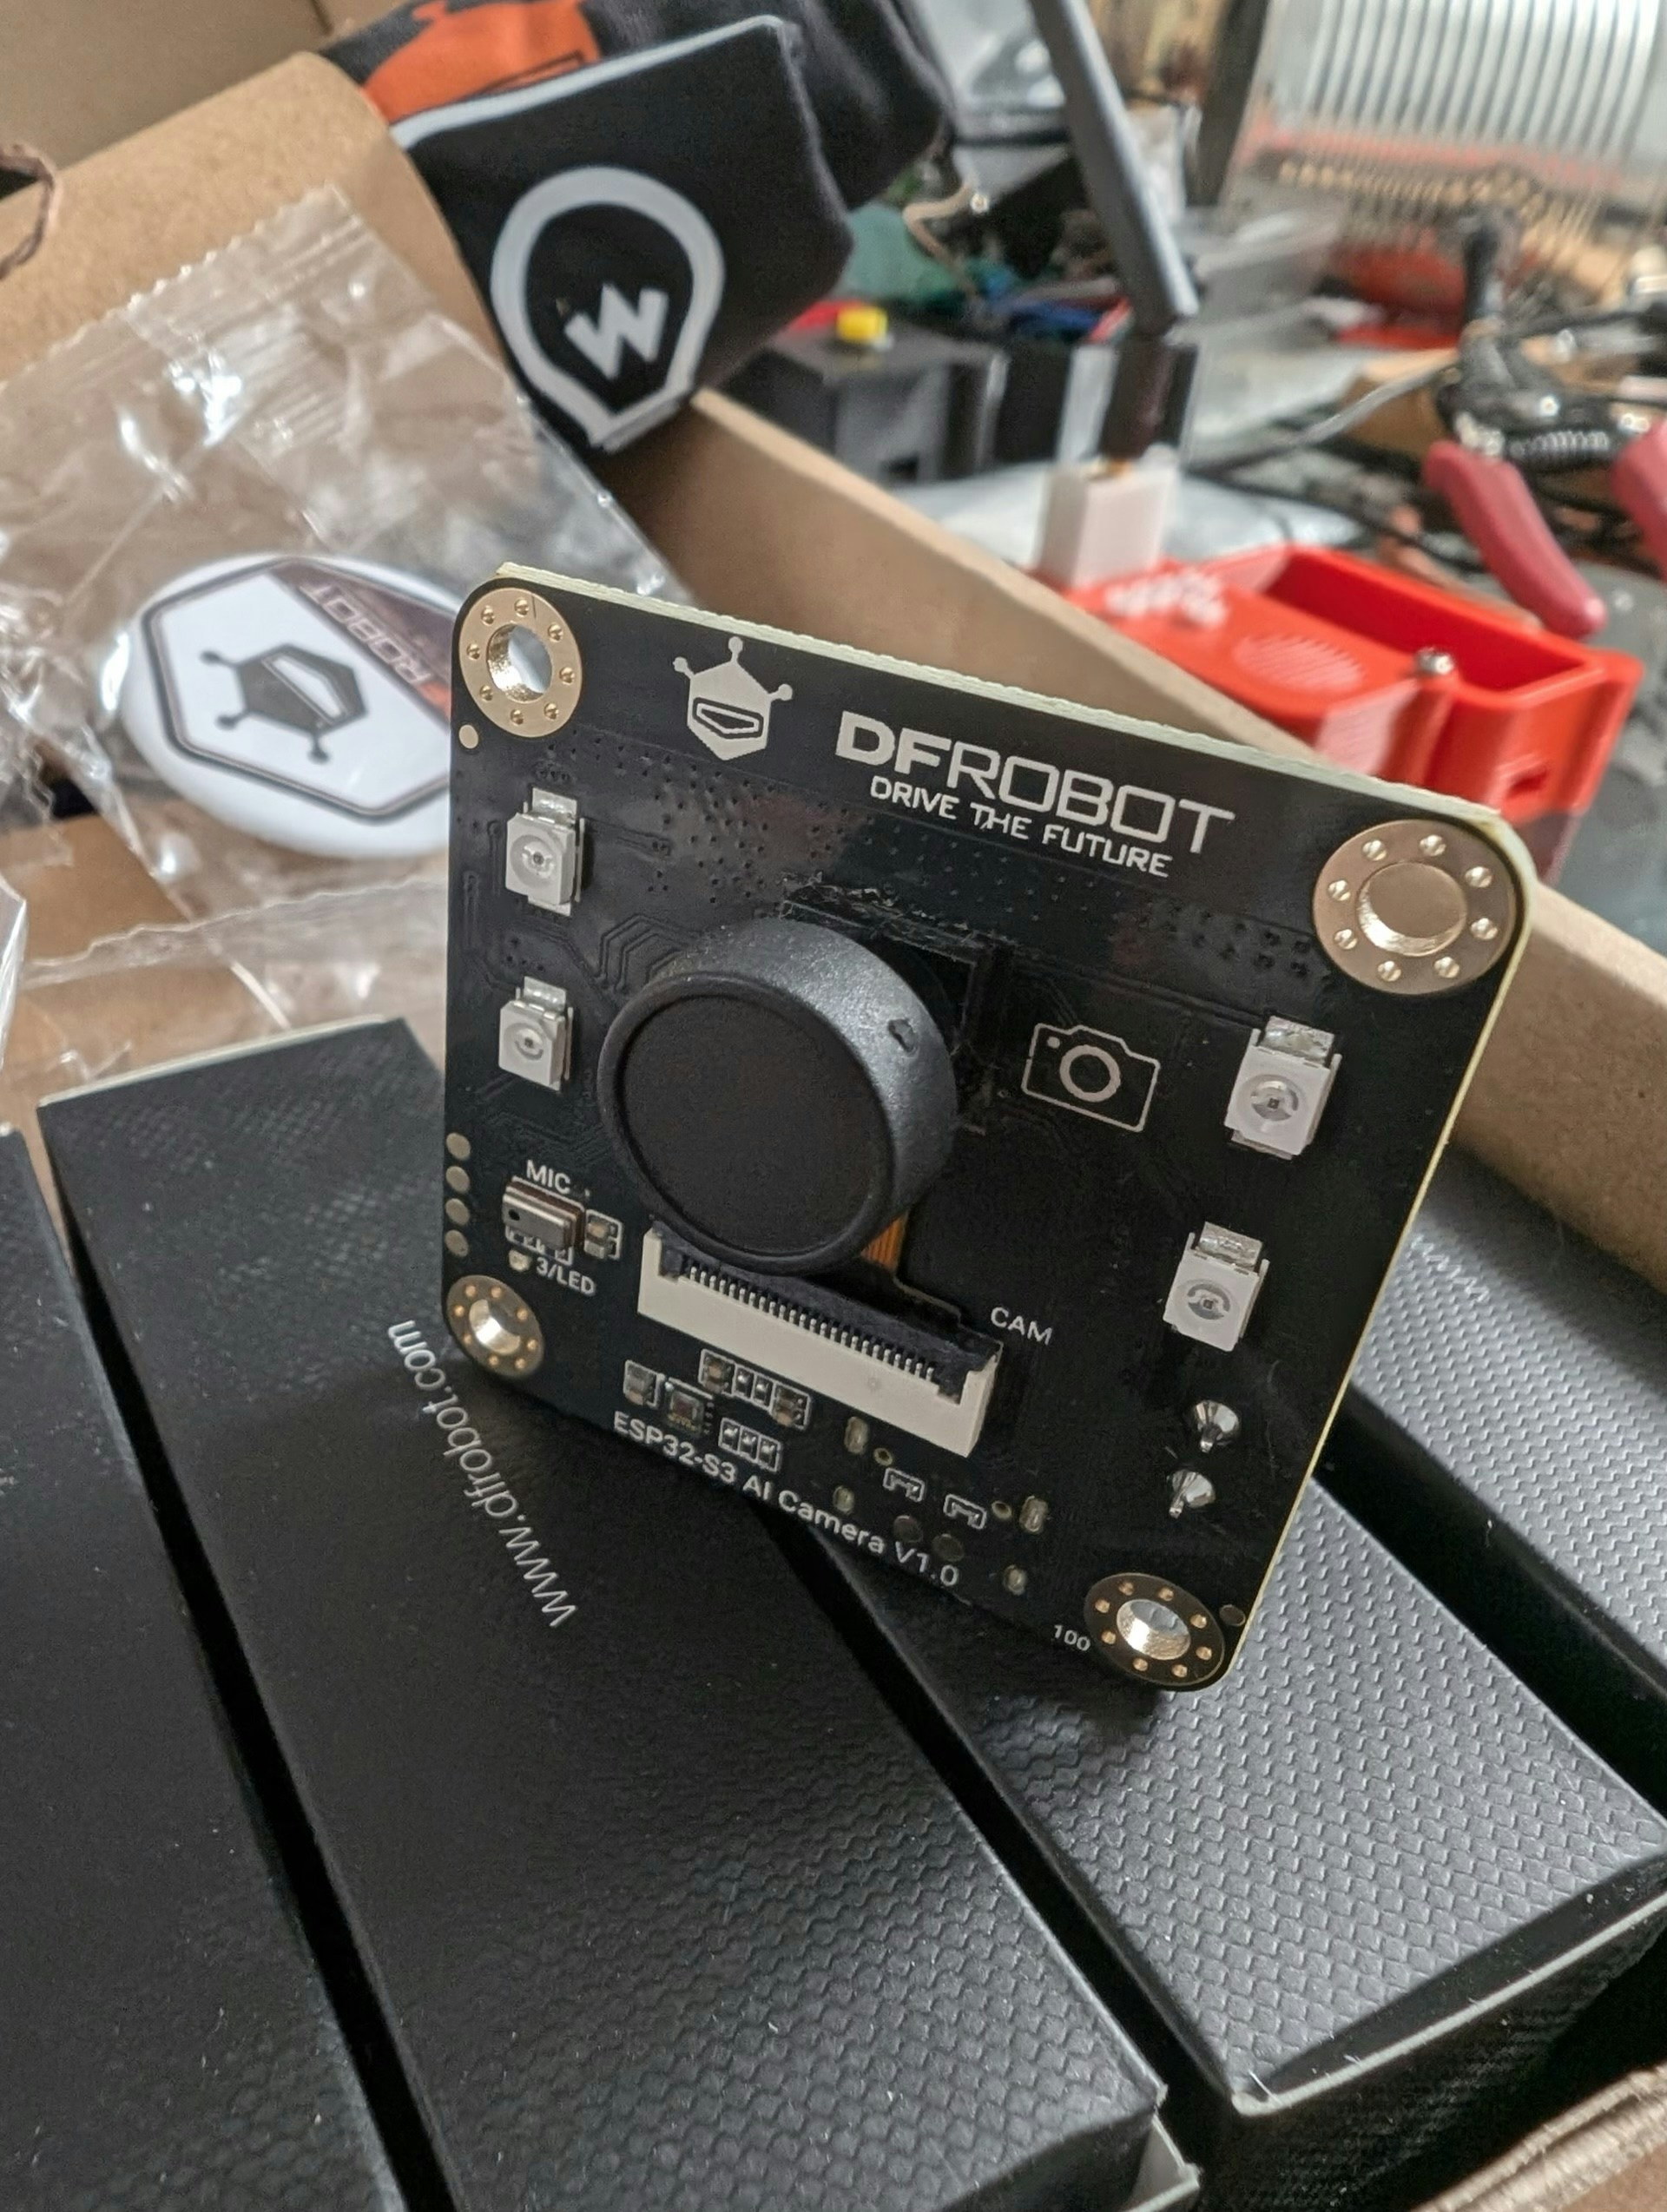
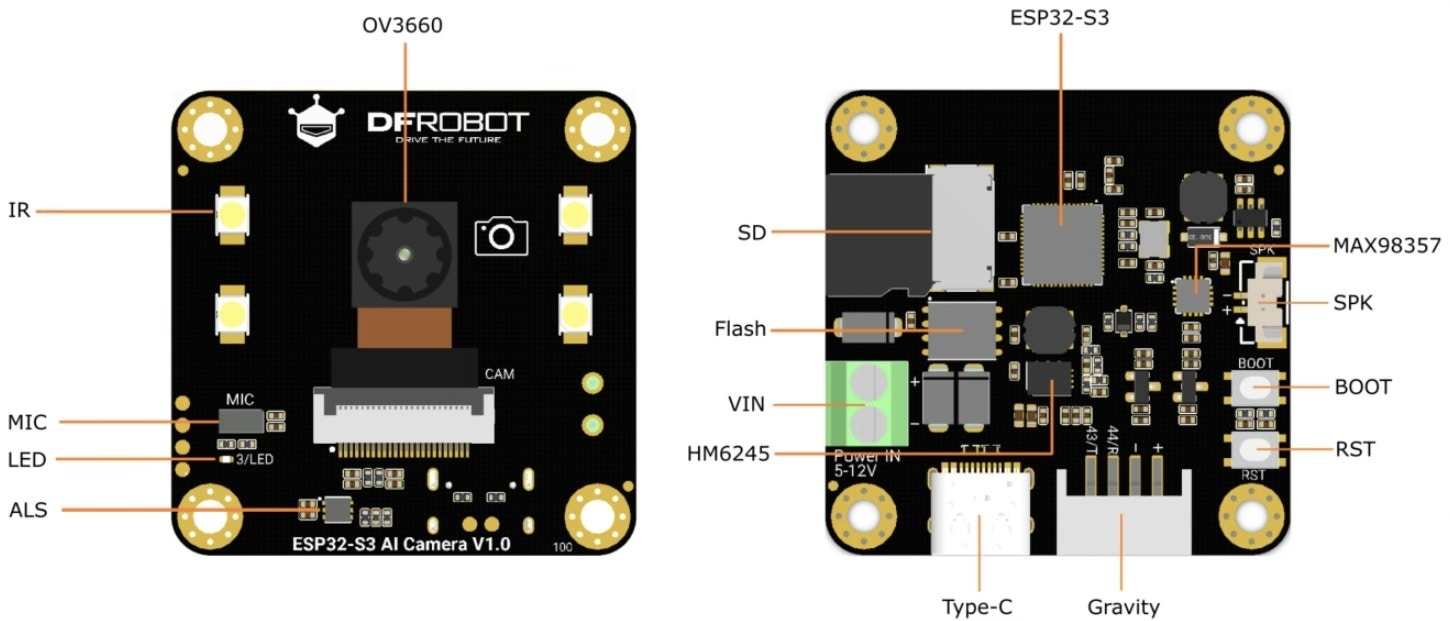
For this project, I use the ESP32S3 AI Camera module 1.0 (DFR1154) by DFRobot and a microSD card. The AI Camera Module is a 1.5” x 1.5” ESP32-based board featuring:- A 2MP OV3660 wide IR camera
- Onboard I2S PDM microphone
- microSD card slot
- Built-in LEDs
- An amplifier and micro speaker
Workflow
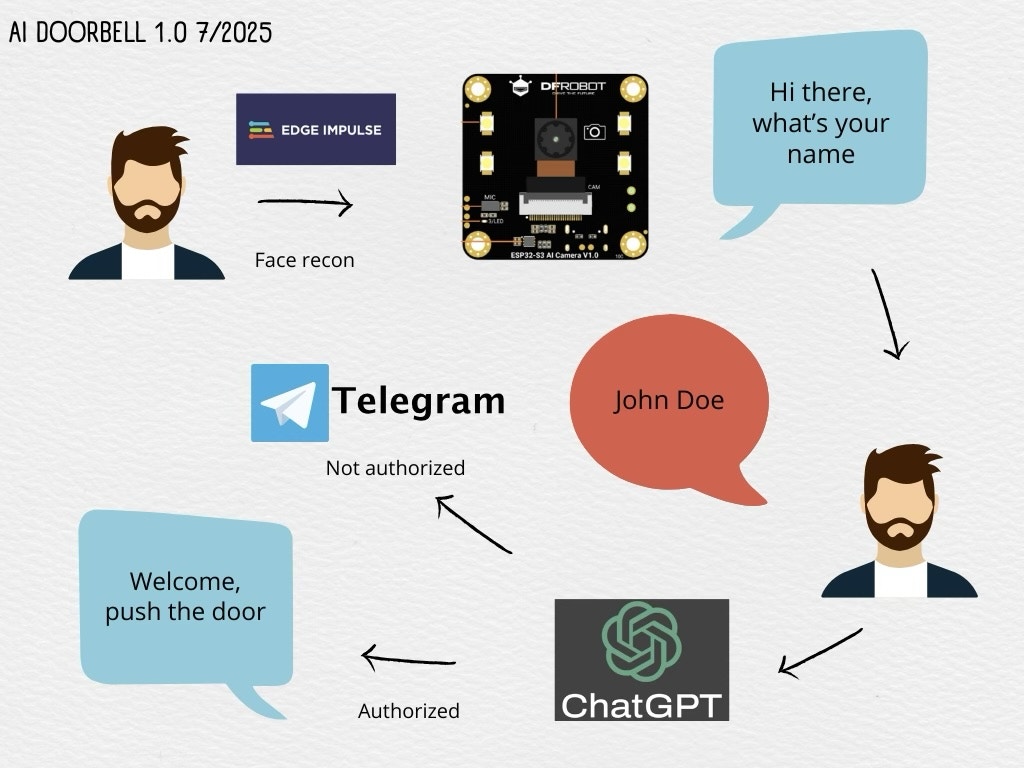
- The module captures pictures at regular intervals.
- Each picture is sent to a local ML model trained with Edge Impulse.
- The model returns a score answering: “Does this picture contain a face?”
- If the result passes a configurable threshold, a greeting is played asking for the visitor’s name.
- The visitor’s answer is recorded and transcribed using OpenAI Whisper.
- The transcription is sent to ChatGPT, which decides whether to open the door (via relay) or notify remotely via Telegram.
Face Detection (Edge Impulse)
Why Edge Impulse? Because it simplifies the full ML workflow: data collection, labeling, training, testing, and deployment. It even generates inference code and an optimized model for embedded systems.Steps:
- Create a free developer account at Edge Impulse.
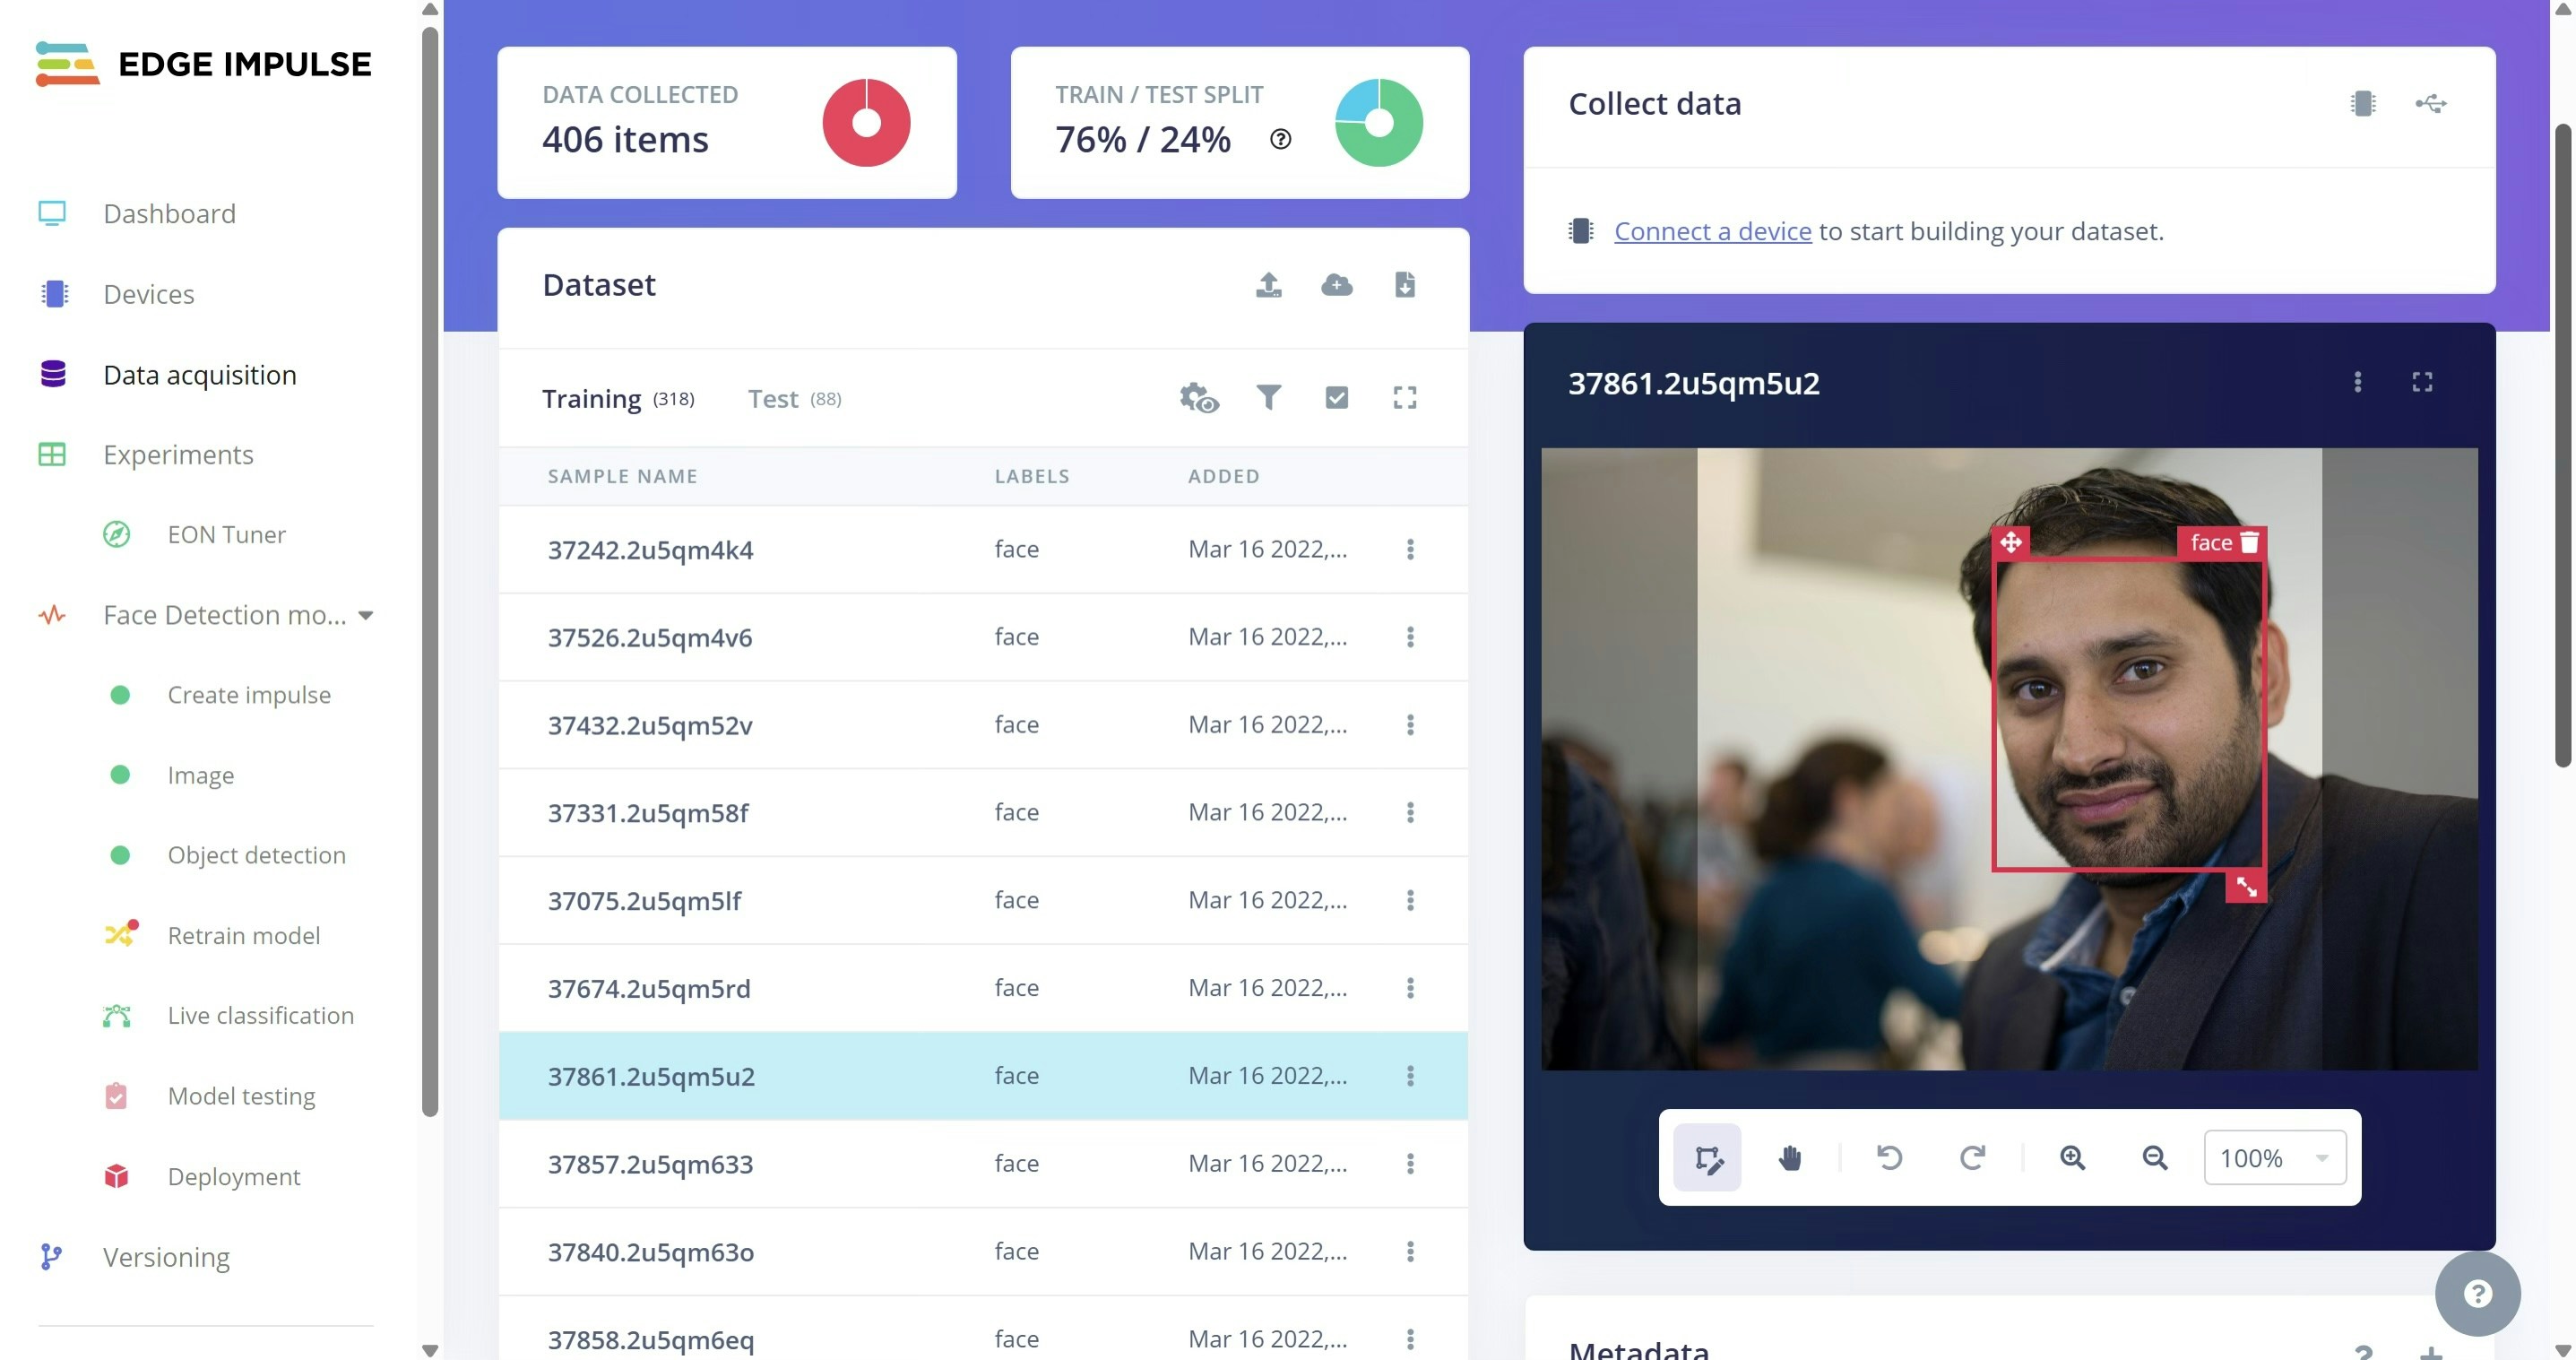
- In the dashboard, ensure Bounding Boxes is selected as the labeling method.
- Upload ~100 images containing faces. Draw a square around each face and label it as “face”
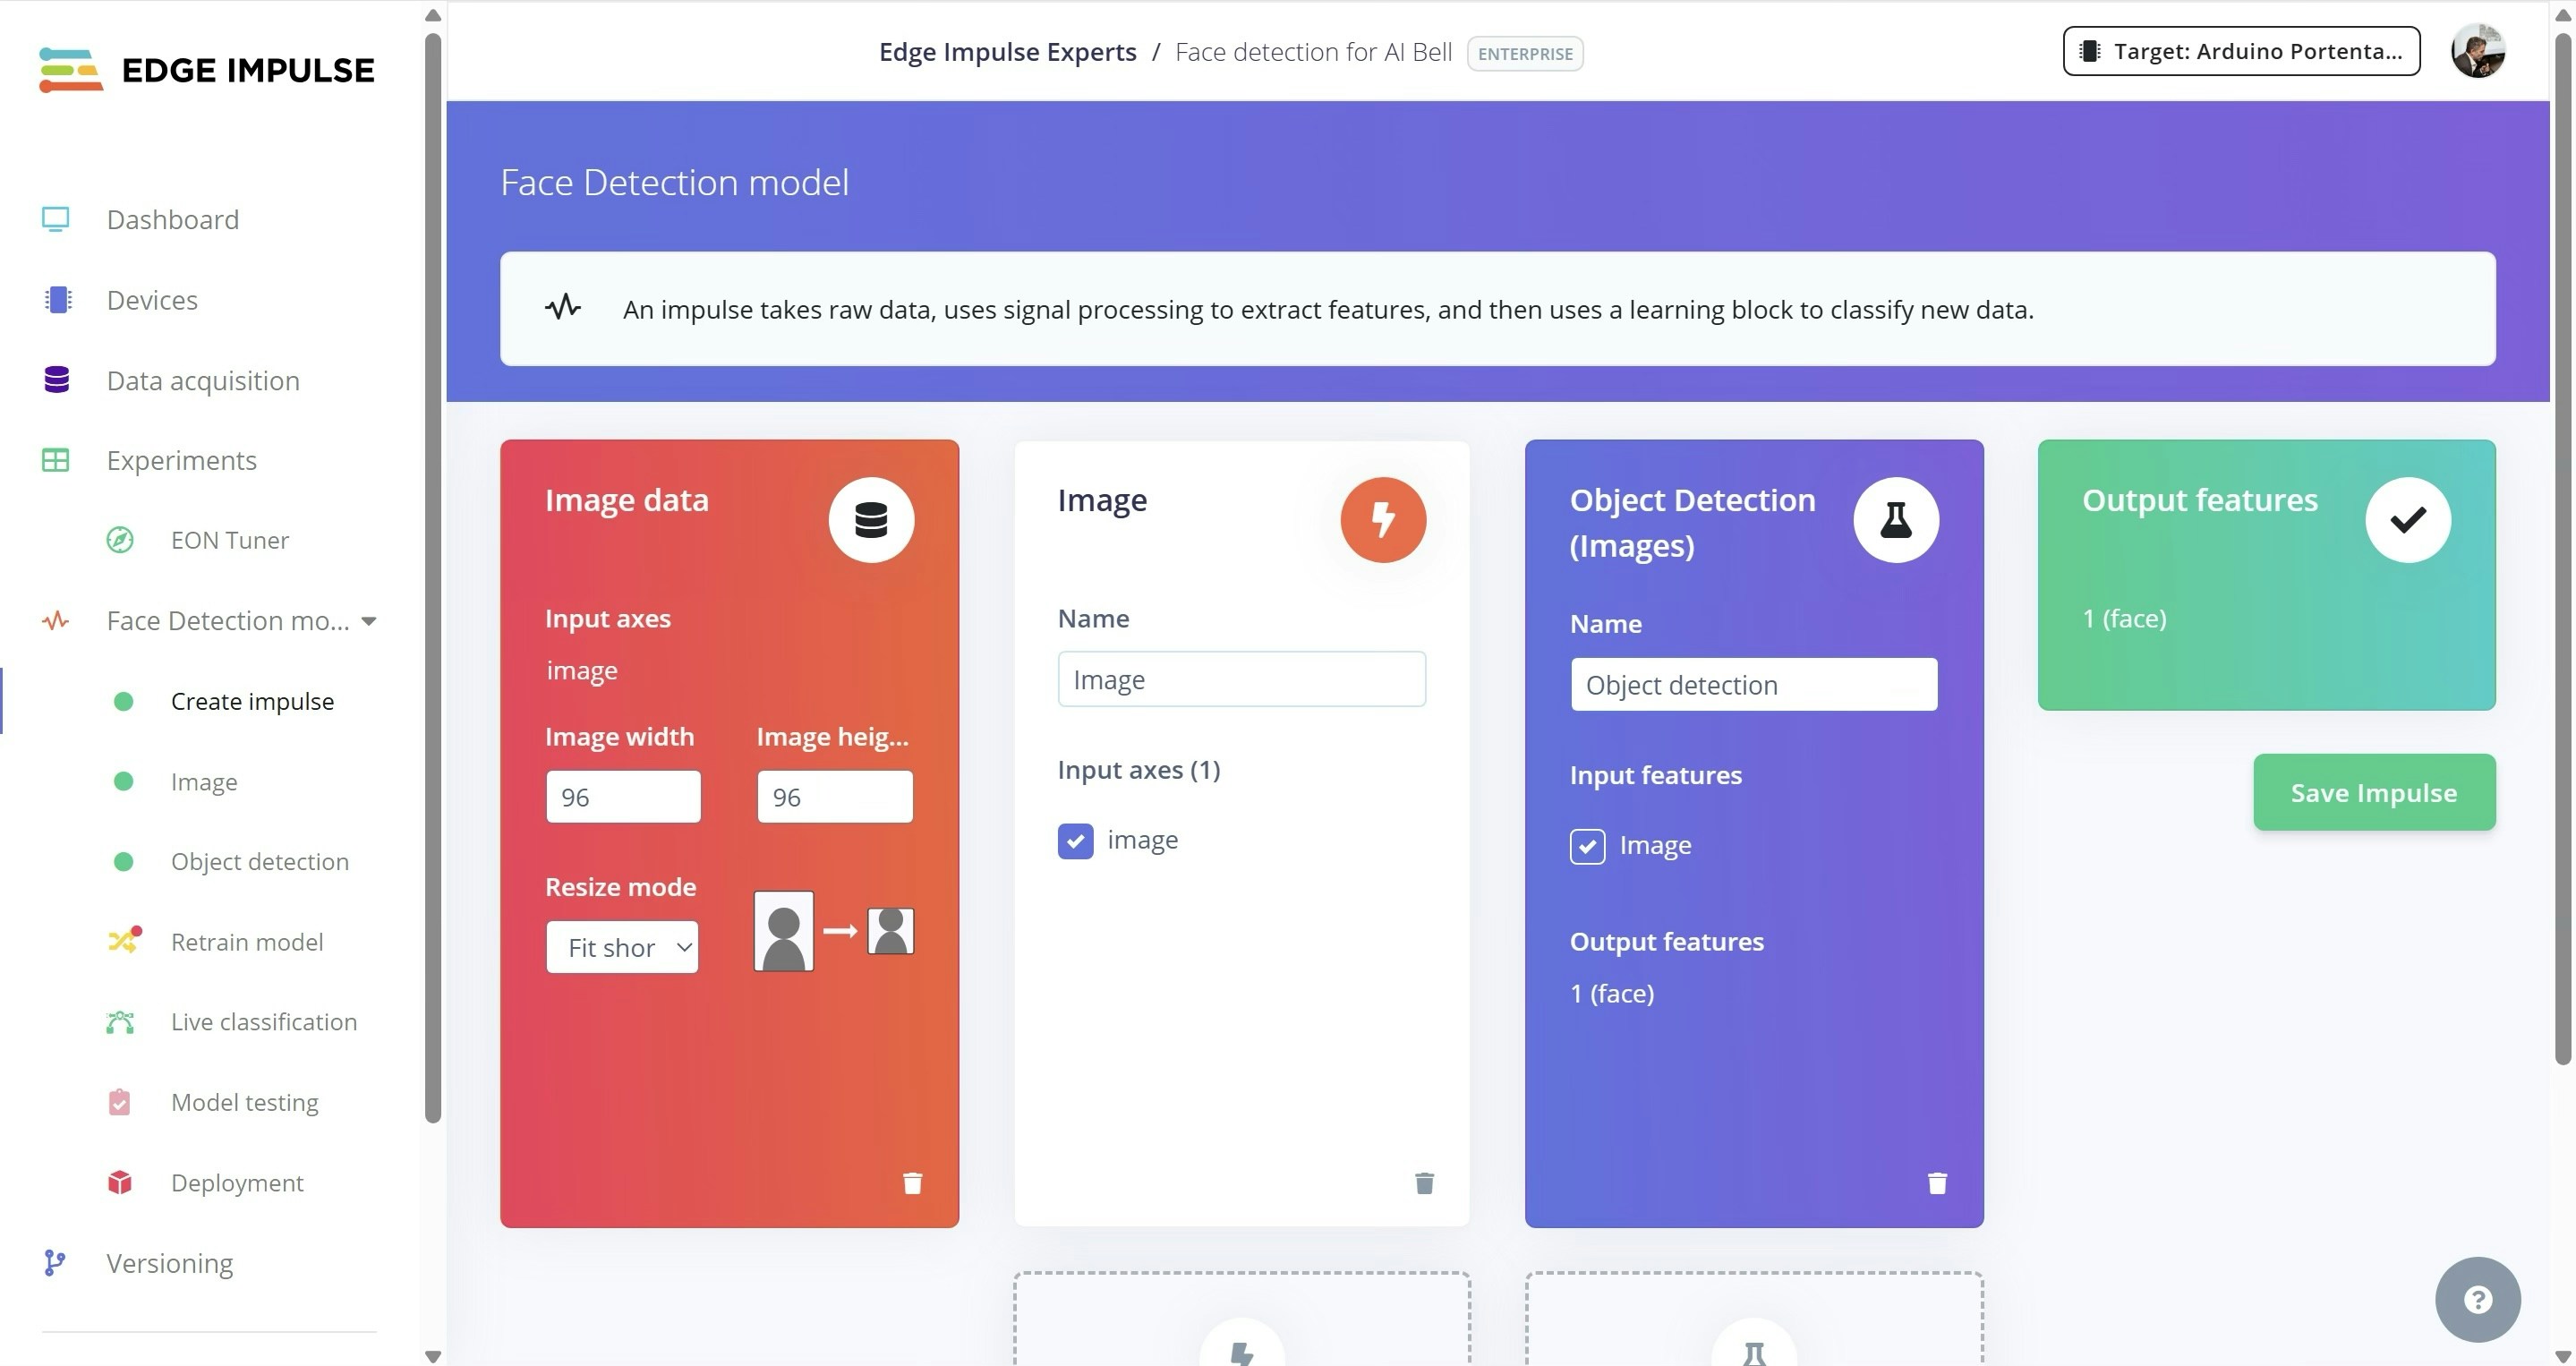
- Create an Impulse with:
- 96x96 px
- Object Detection
- 1 output feature
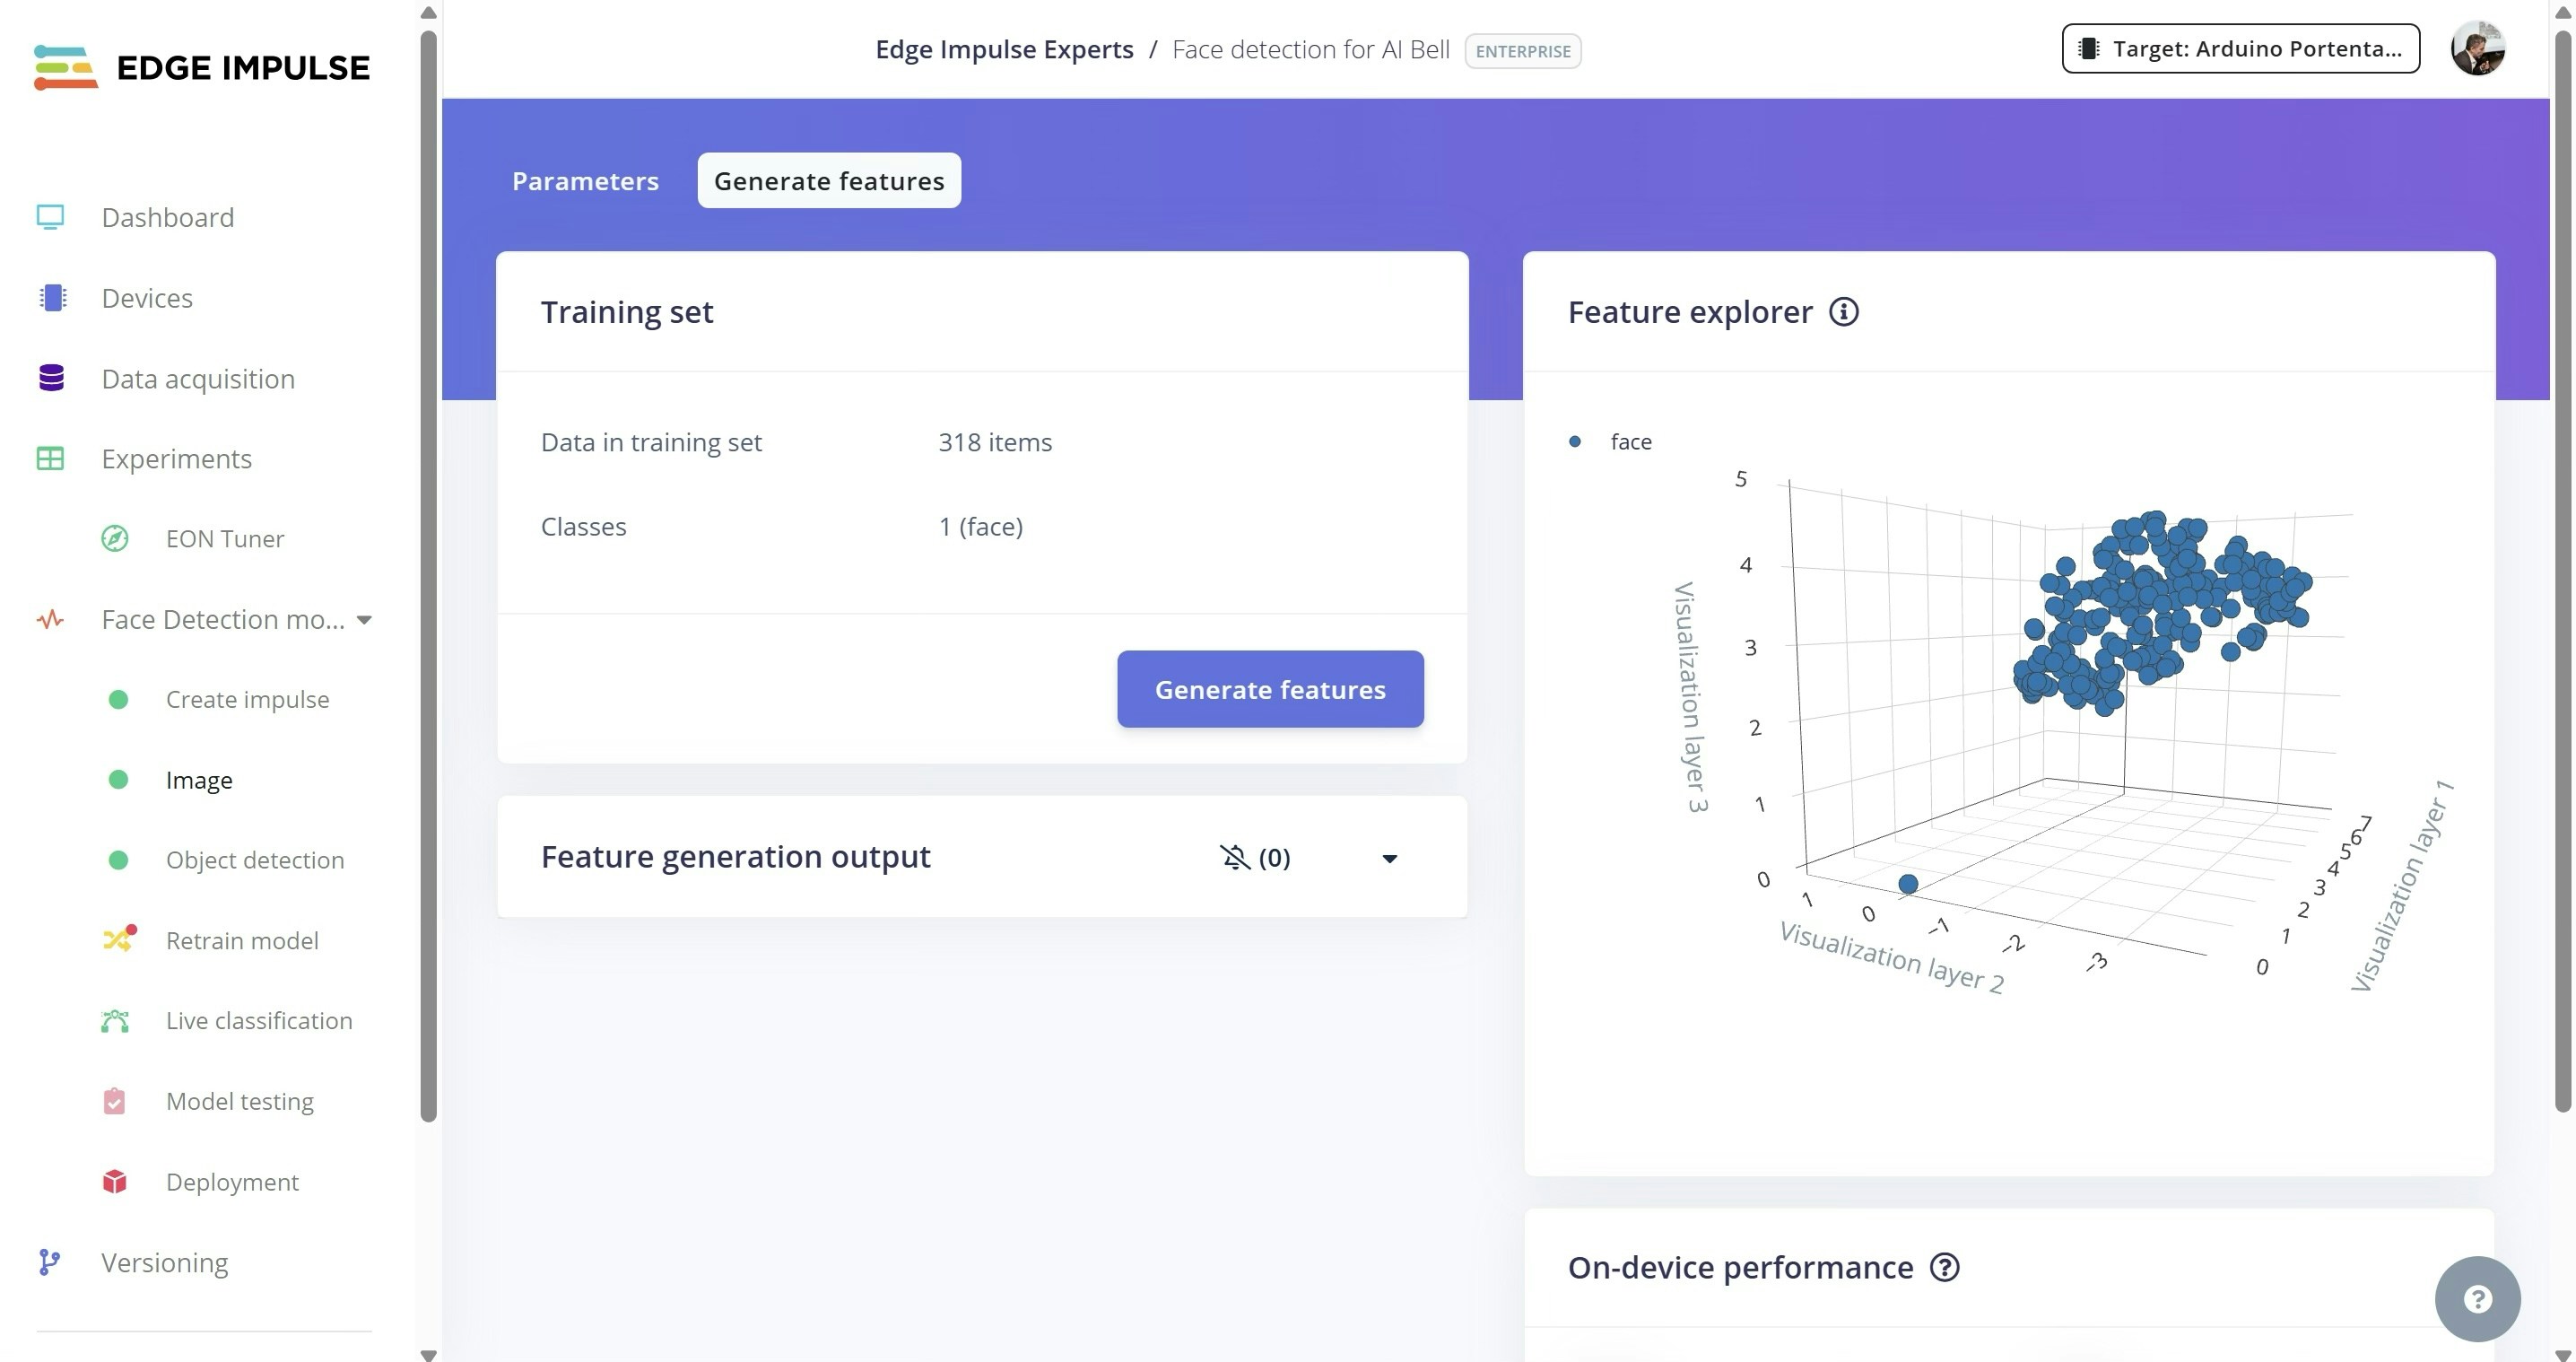
- Under Image, choose grayscale for color depth, then generate features.
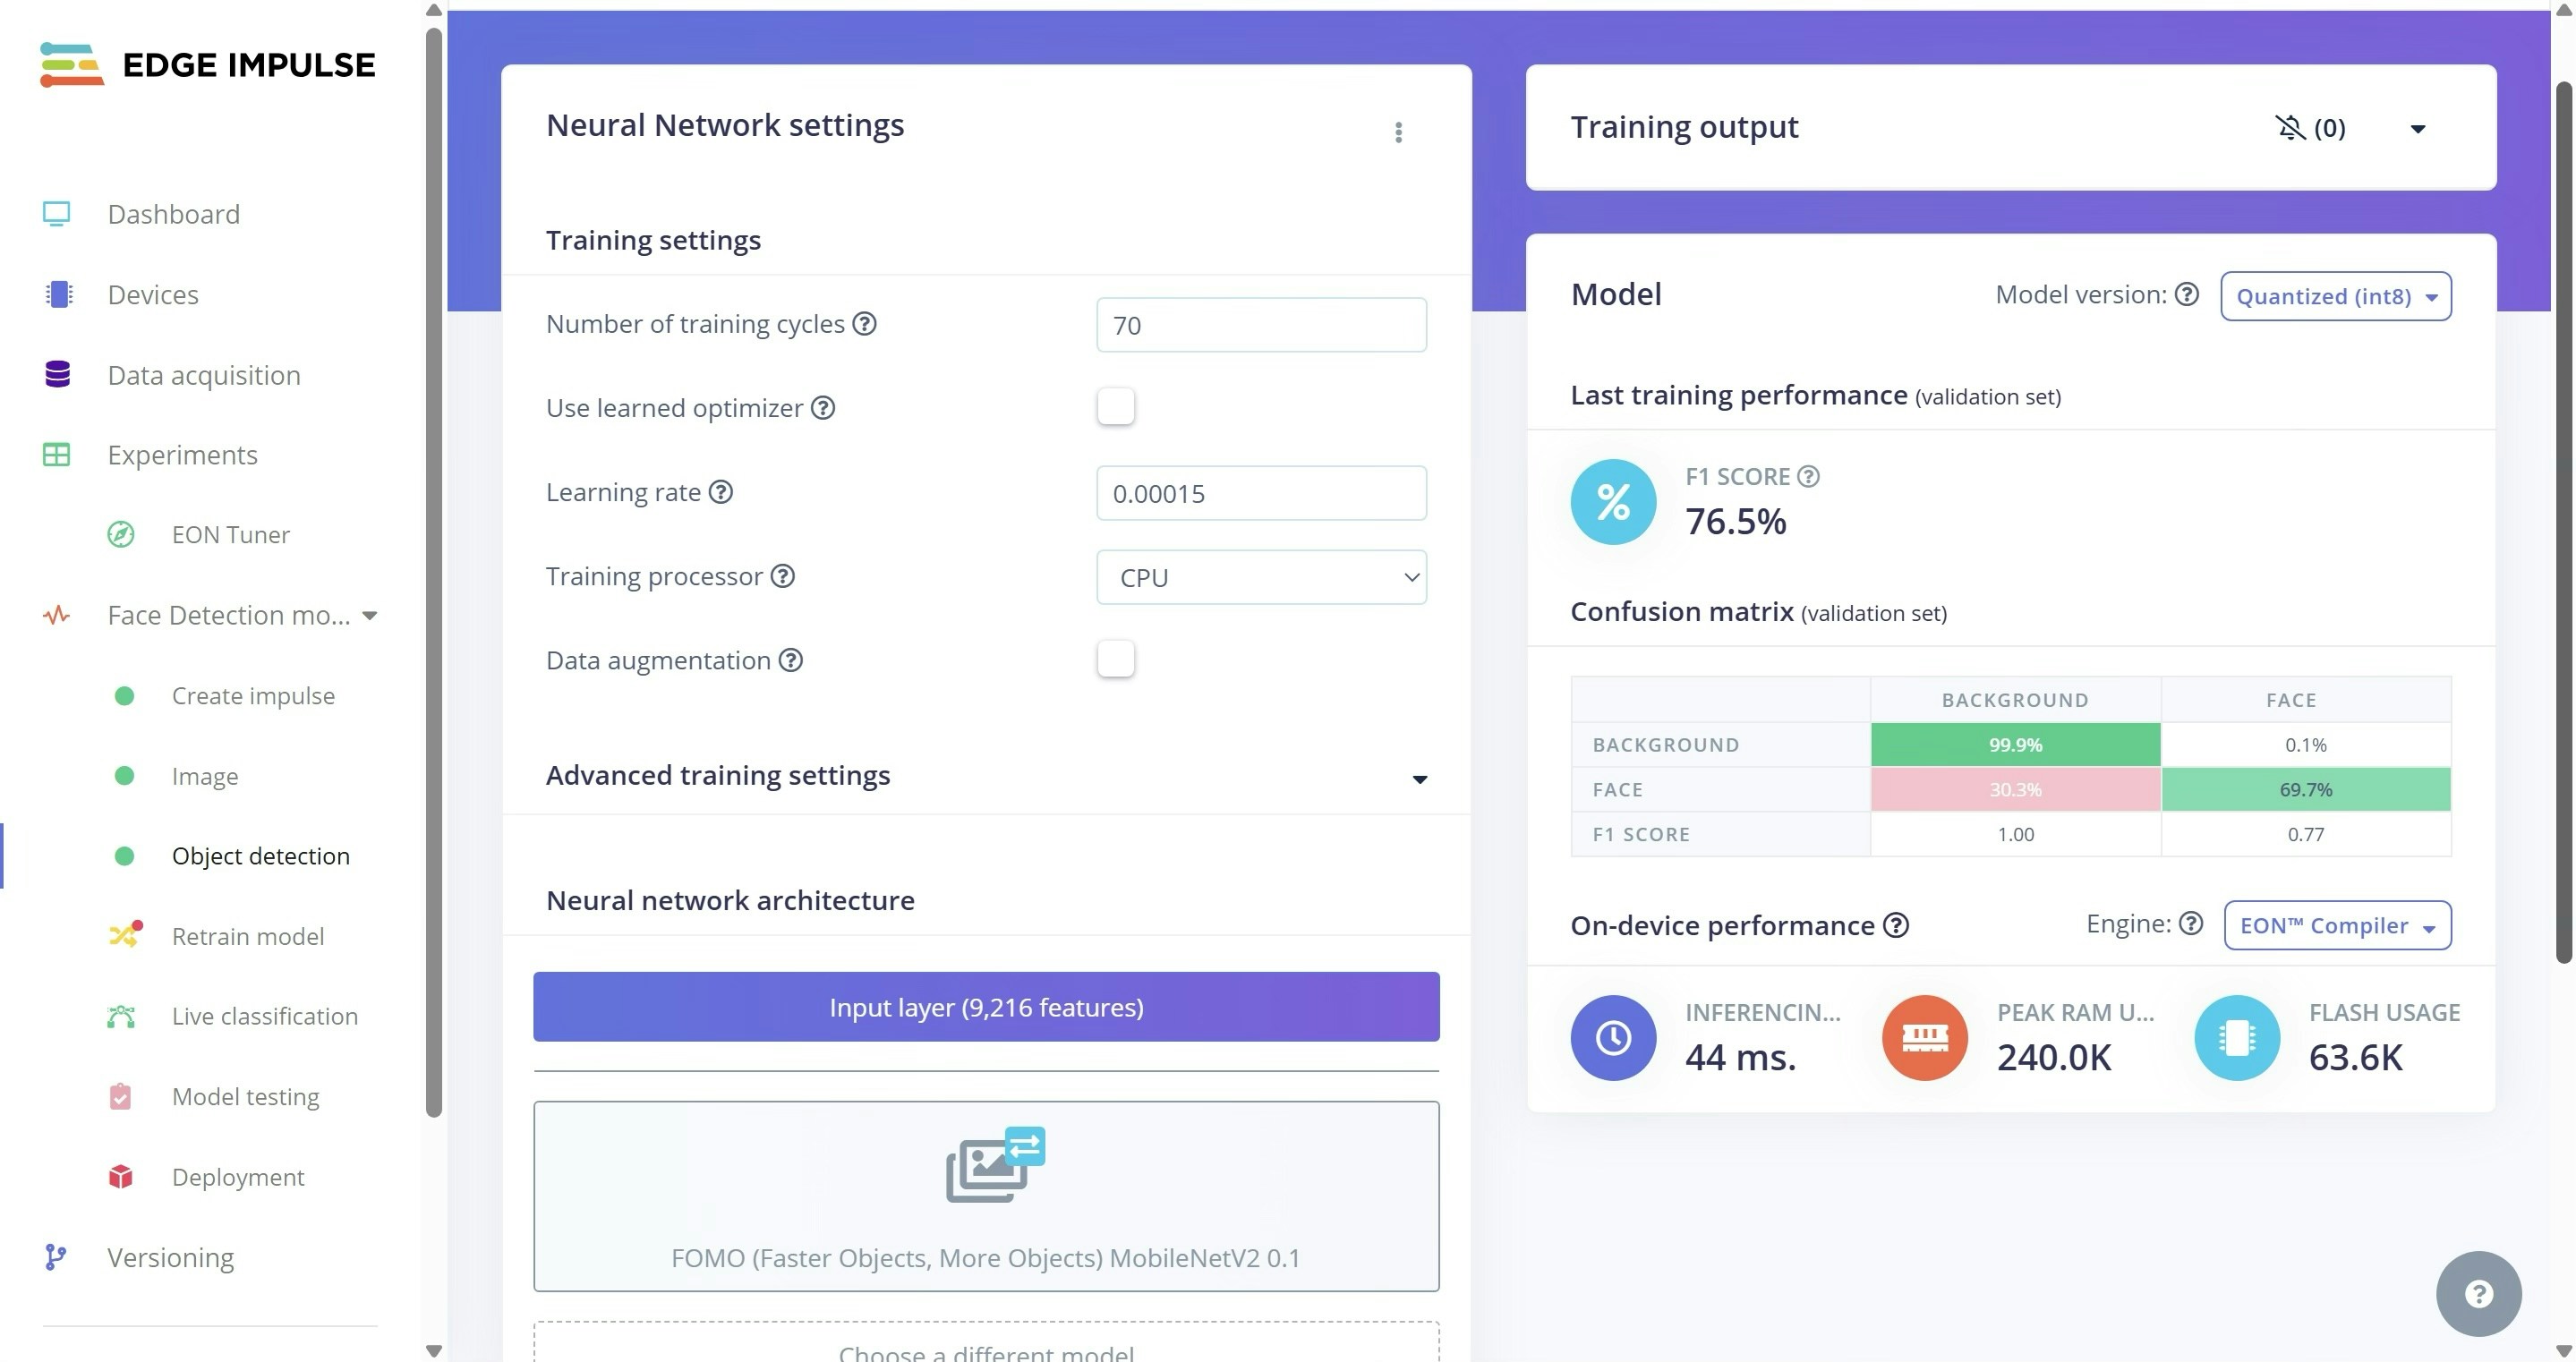
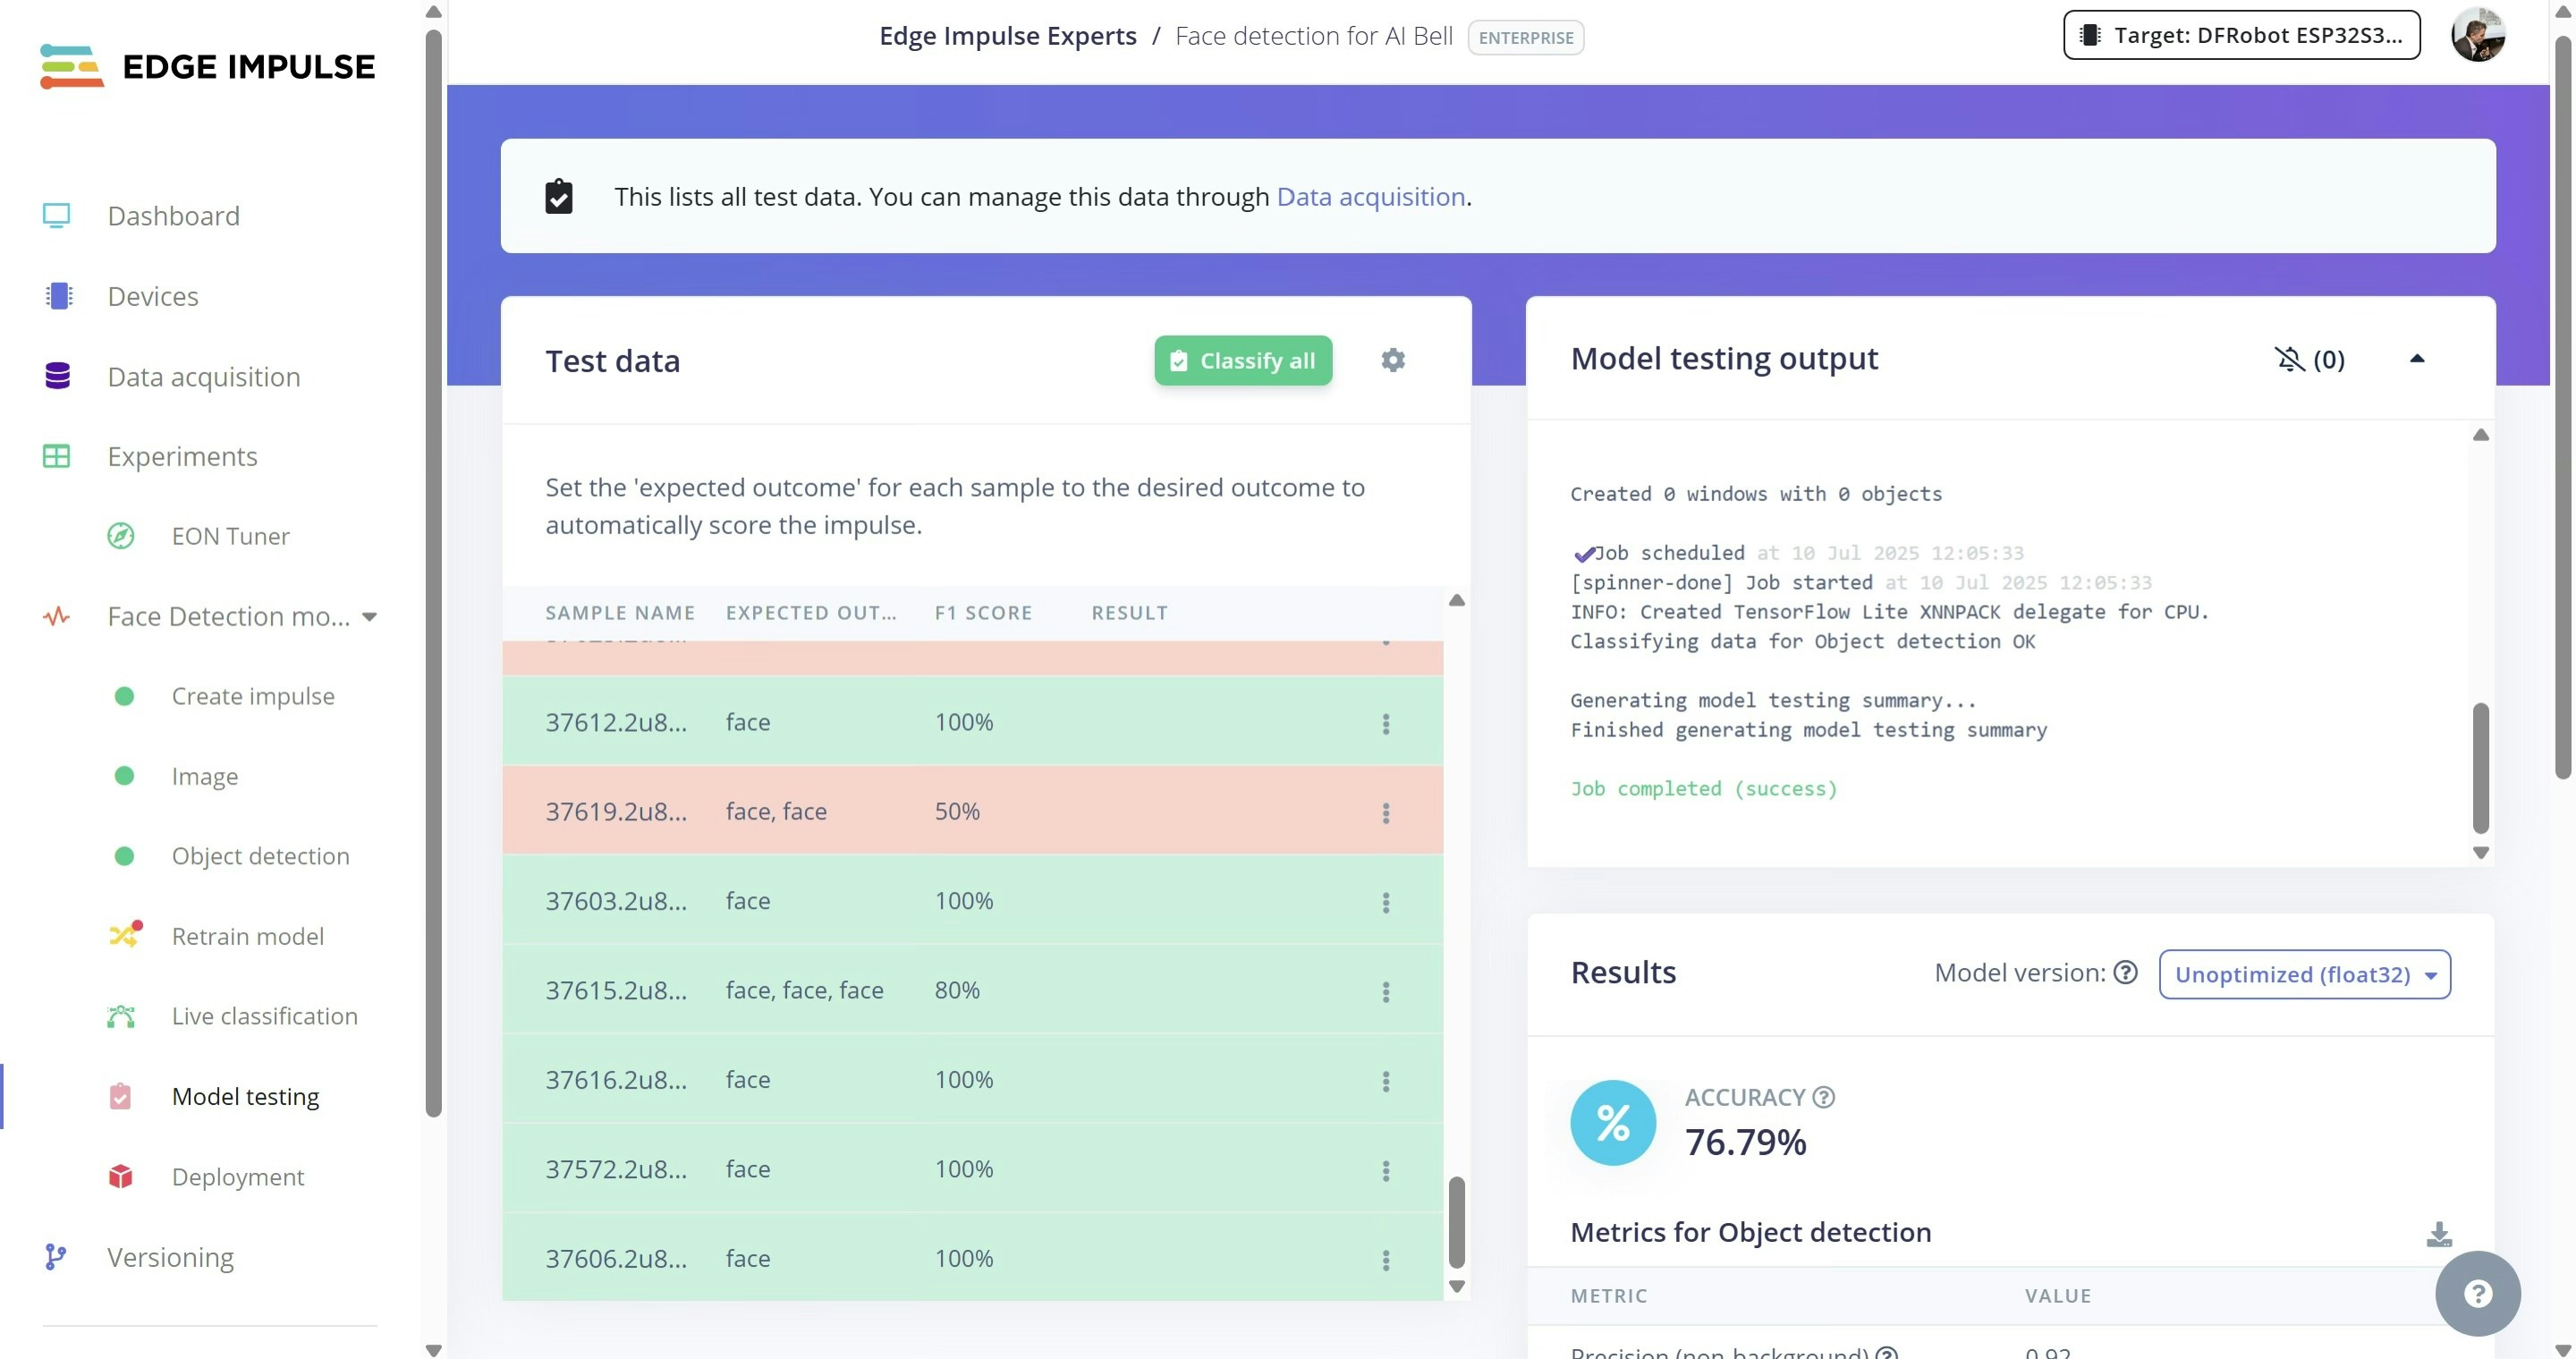
- Train the model. (In my case, 70 cycles and a learning rate of 0.00015 yielded a 0.77 F1 score, but your mileage may vary.)
Model Deployment
- Test the model using unseen images that were set aside during data collection.
- On Deployment, choose an Arduino Library and click Build to download the trained model.
- Unzip it into Documents/Arduino/libraries.
-
Replace
depthwise_conv.cppandconv.cppin src/edge-impulse-sdk/tensorflow/lite/micro/kernels with files from https://github.com/ronibandini/aicamdoorbell/tree/main/edgeimpulse -
Edit
aibell1.inoto include the model header:
Audio Setup
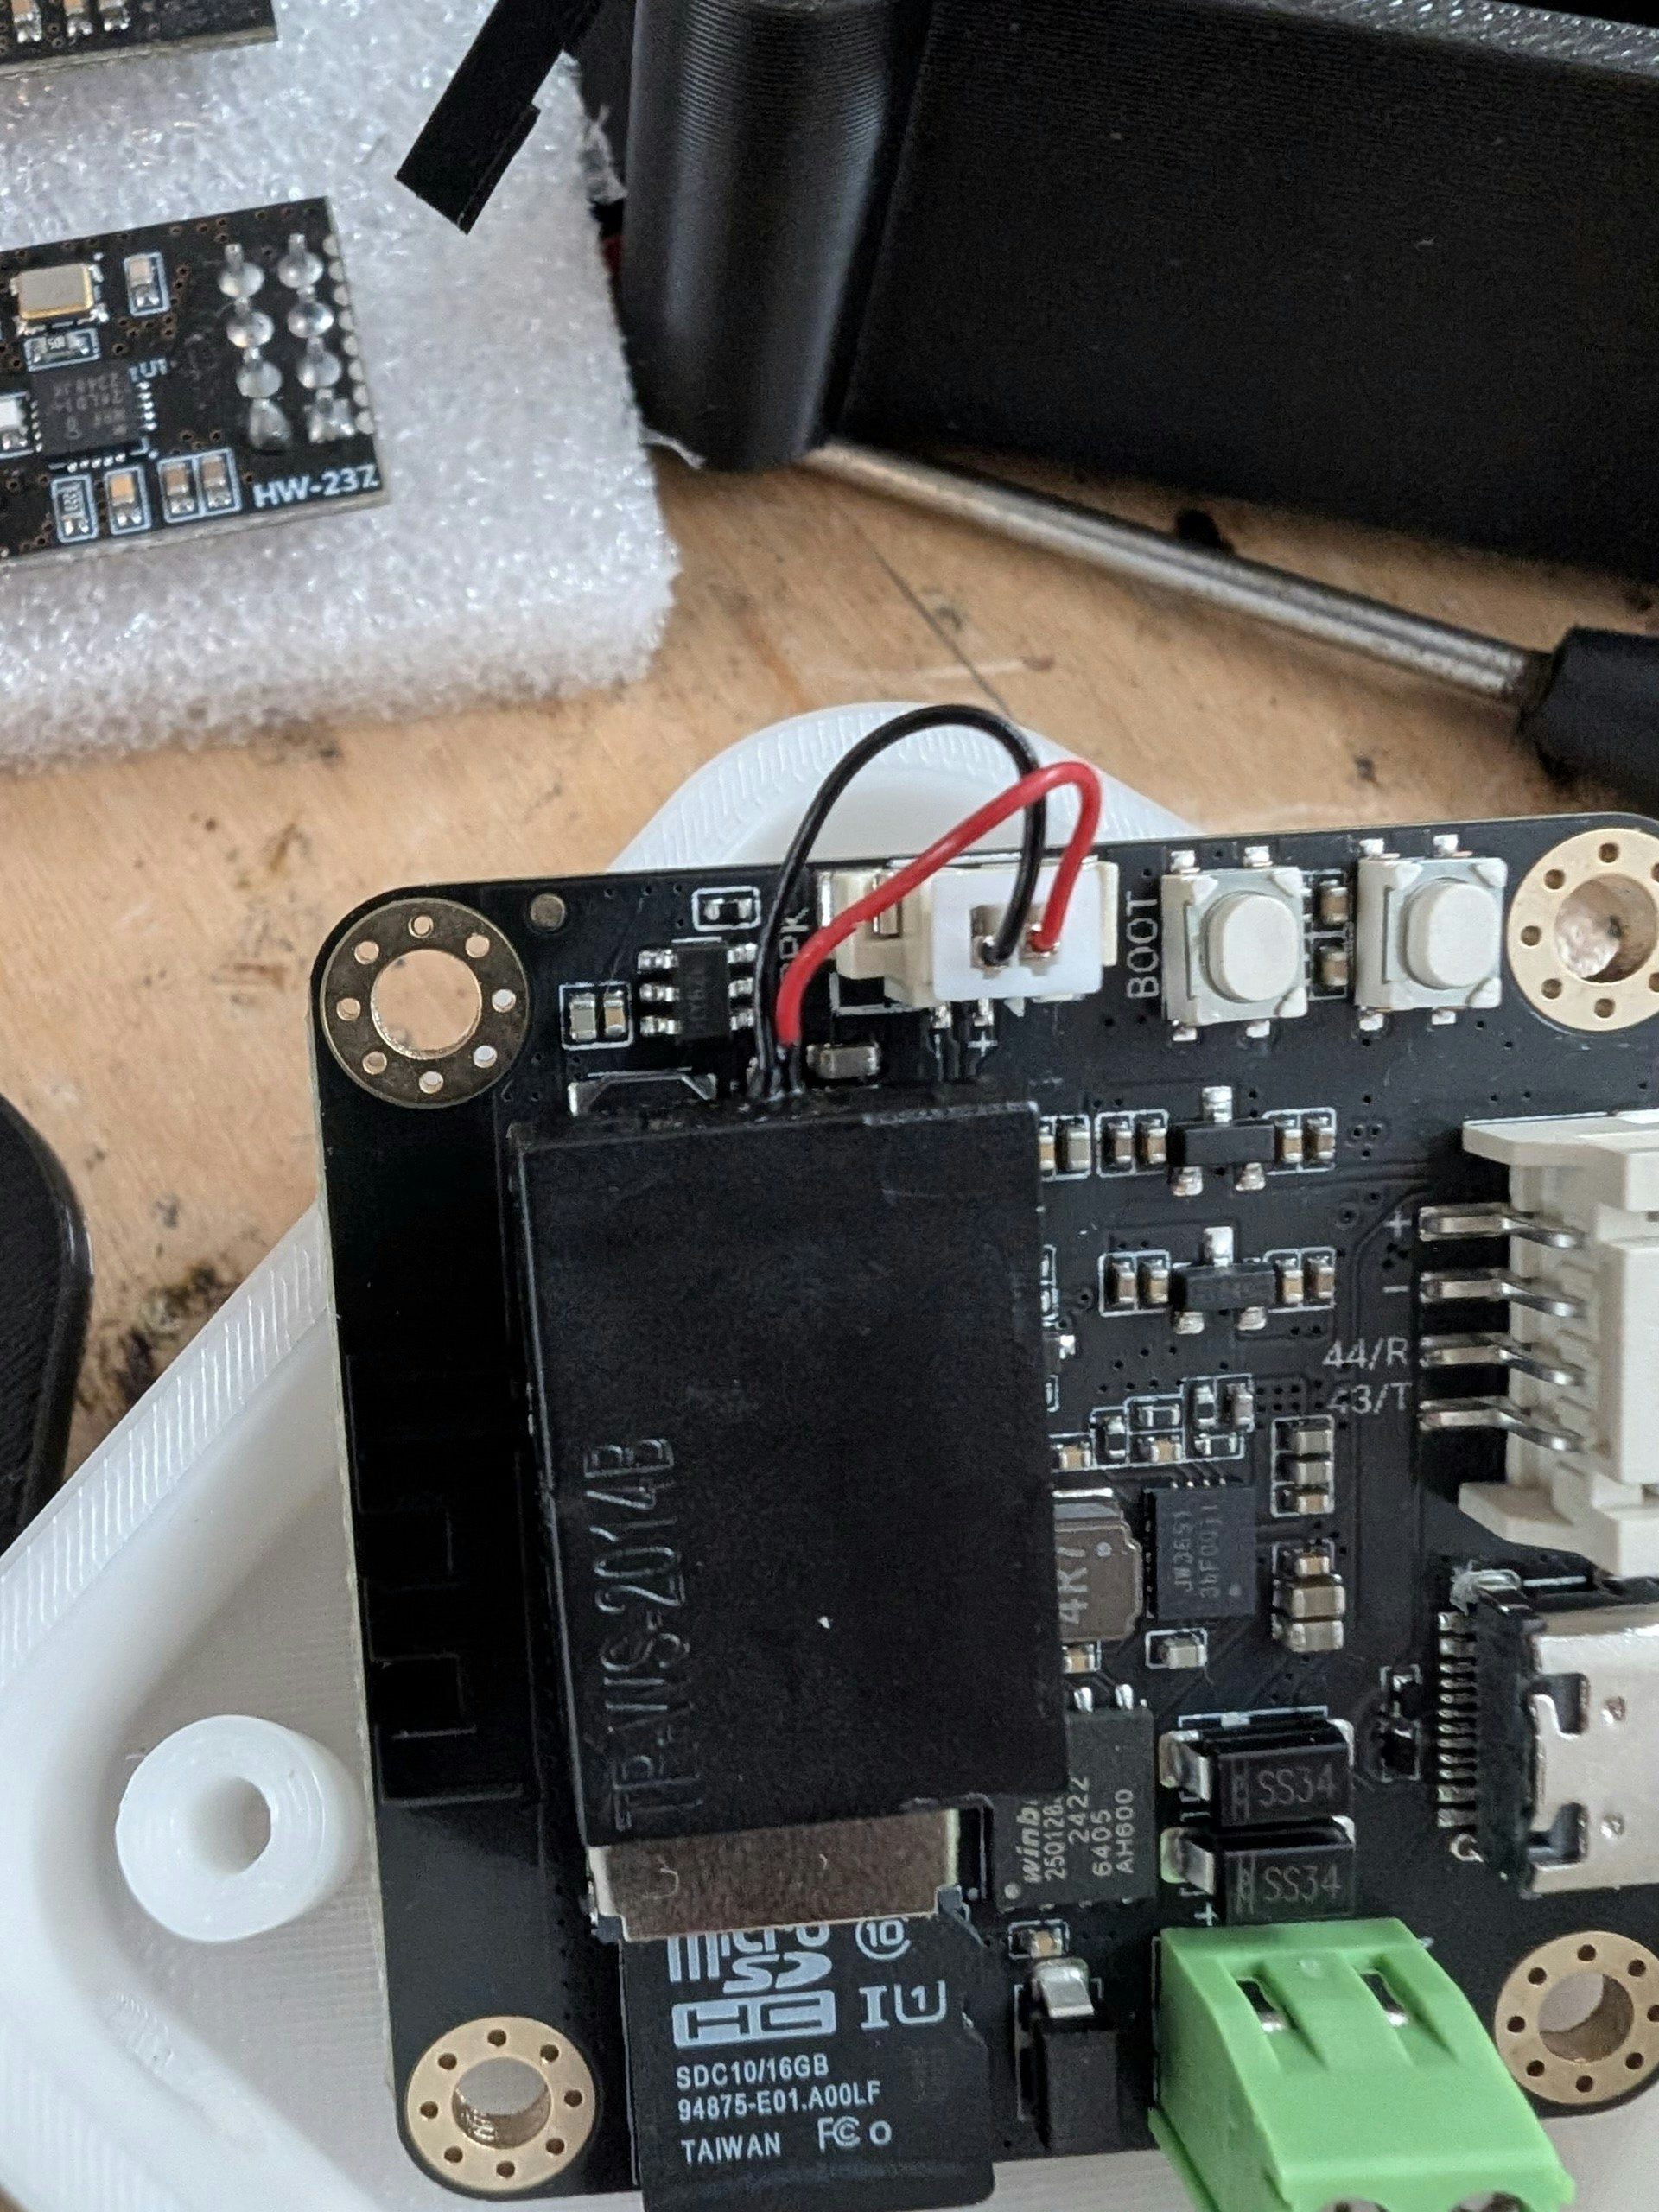
- Connect the micro speaker to the connector
- Copy WAV files to the microSD card and insert it into the AI Cam.
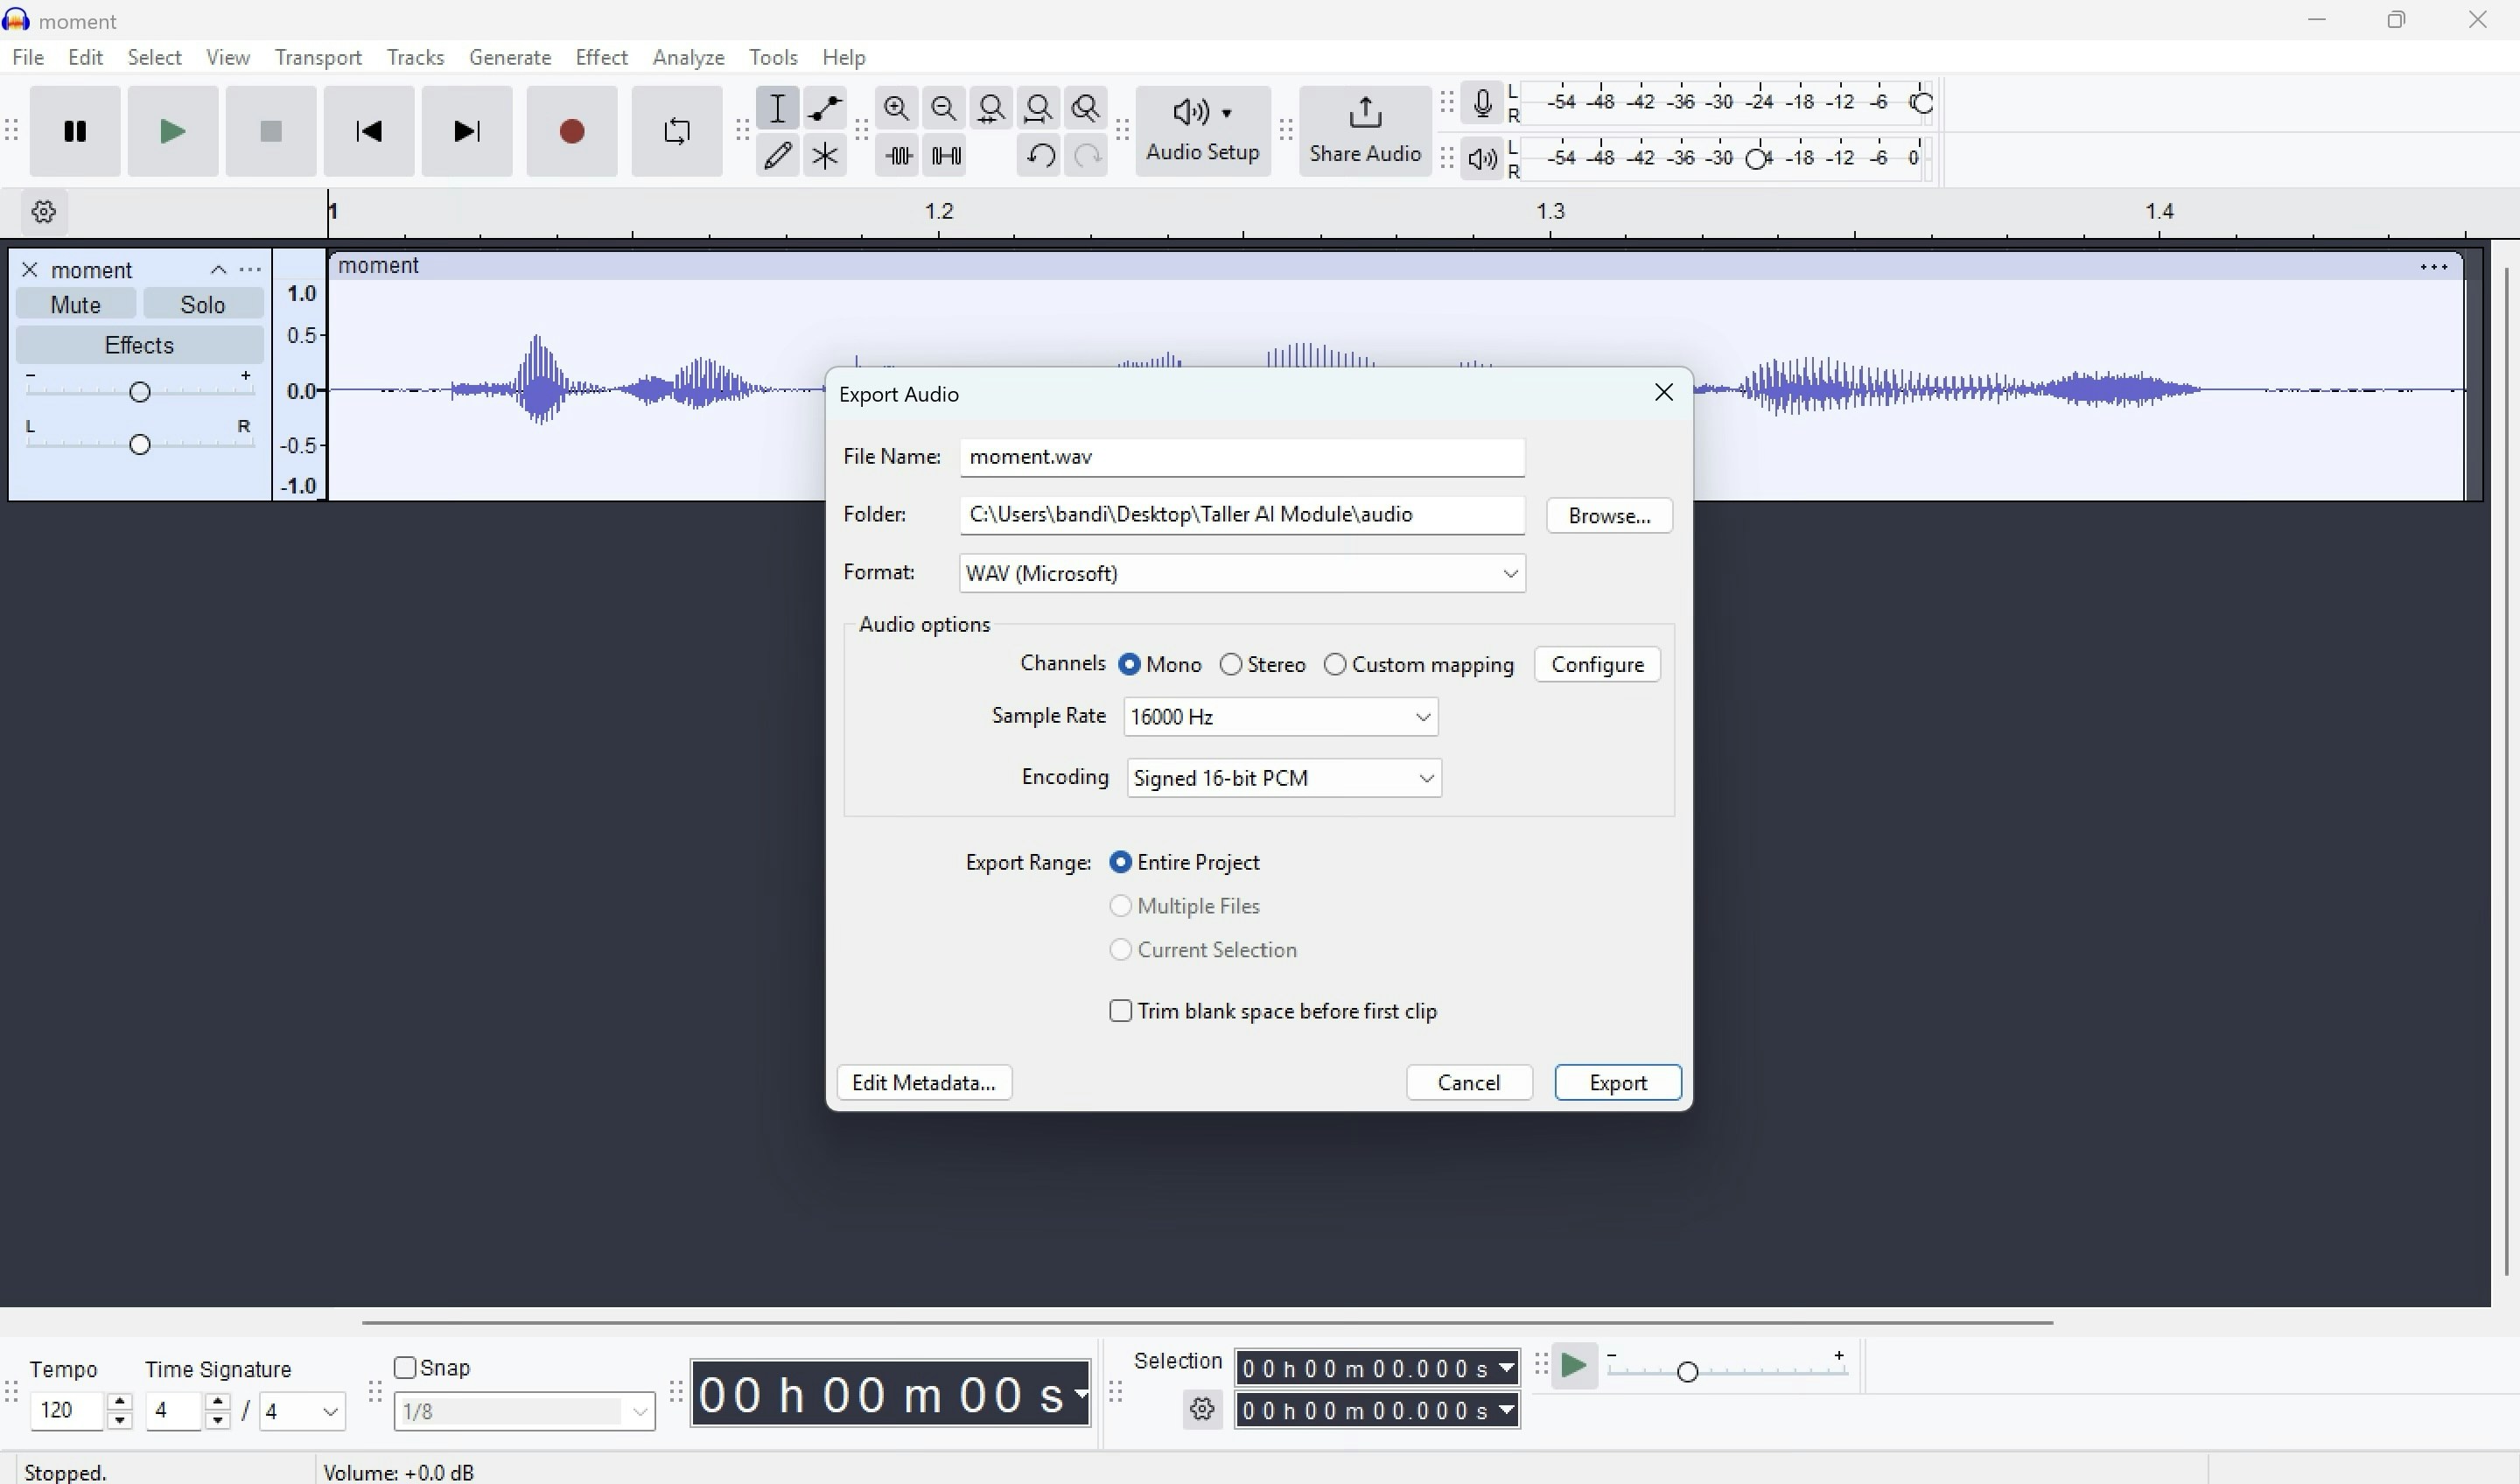
- To customize audio, use ElevenLabs TTS.
- Export MP3 and convert to WAV, 16kHz.
Software Setup
- Install the Universal Telegram Bot library in Arduino IDE.
- Get an OpenAI API key (for Whisper and GPT) at: https://platform.openai.com/settings/organization/api-keys
- Get a Telegram bot token from: https://core.telegram.org/bots/tutorial
-
Edit the following in
aibell1.ino:
- Edit system instructions:
- Upload Settings:
- Board: ESP32S3 Dev Module
- USB: Correct USB port
- Options: USB CDC On Boot
- Partition: 16MB Flash (3MB app, 9.9MB FS)
- Flash mode: QIO
- PSRAM: OPI
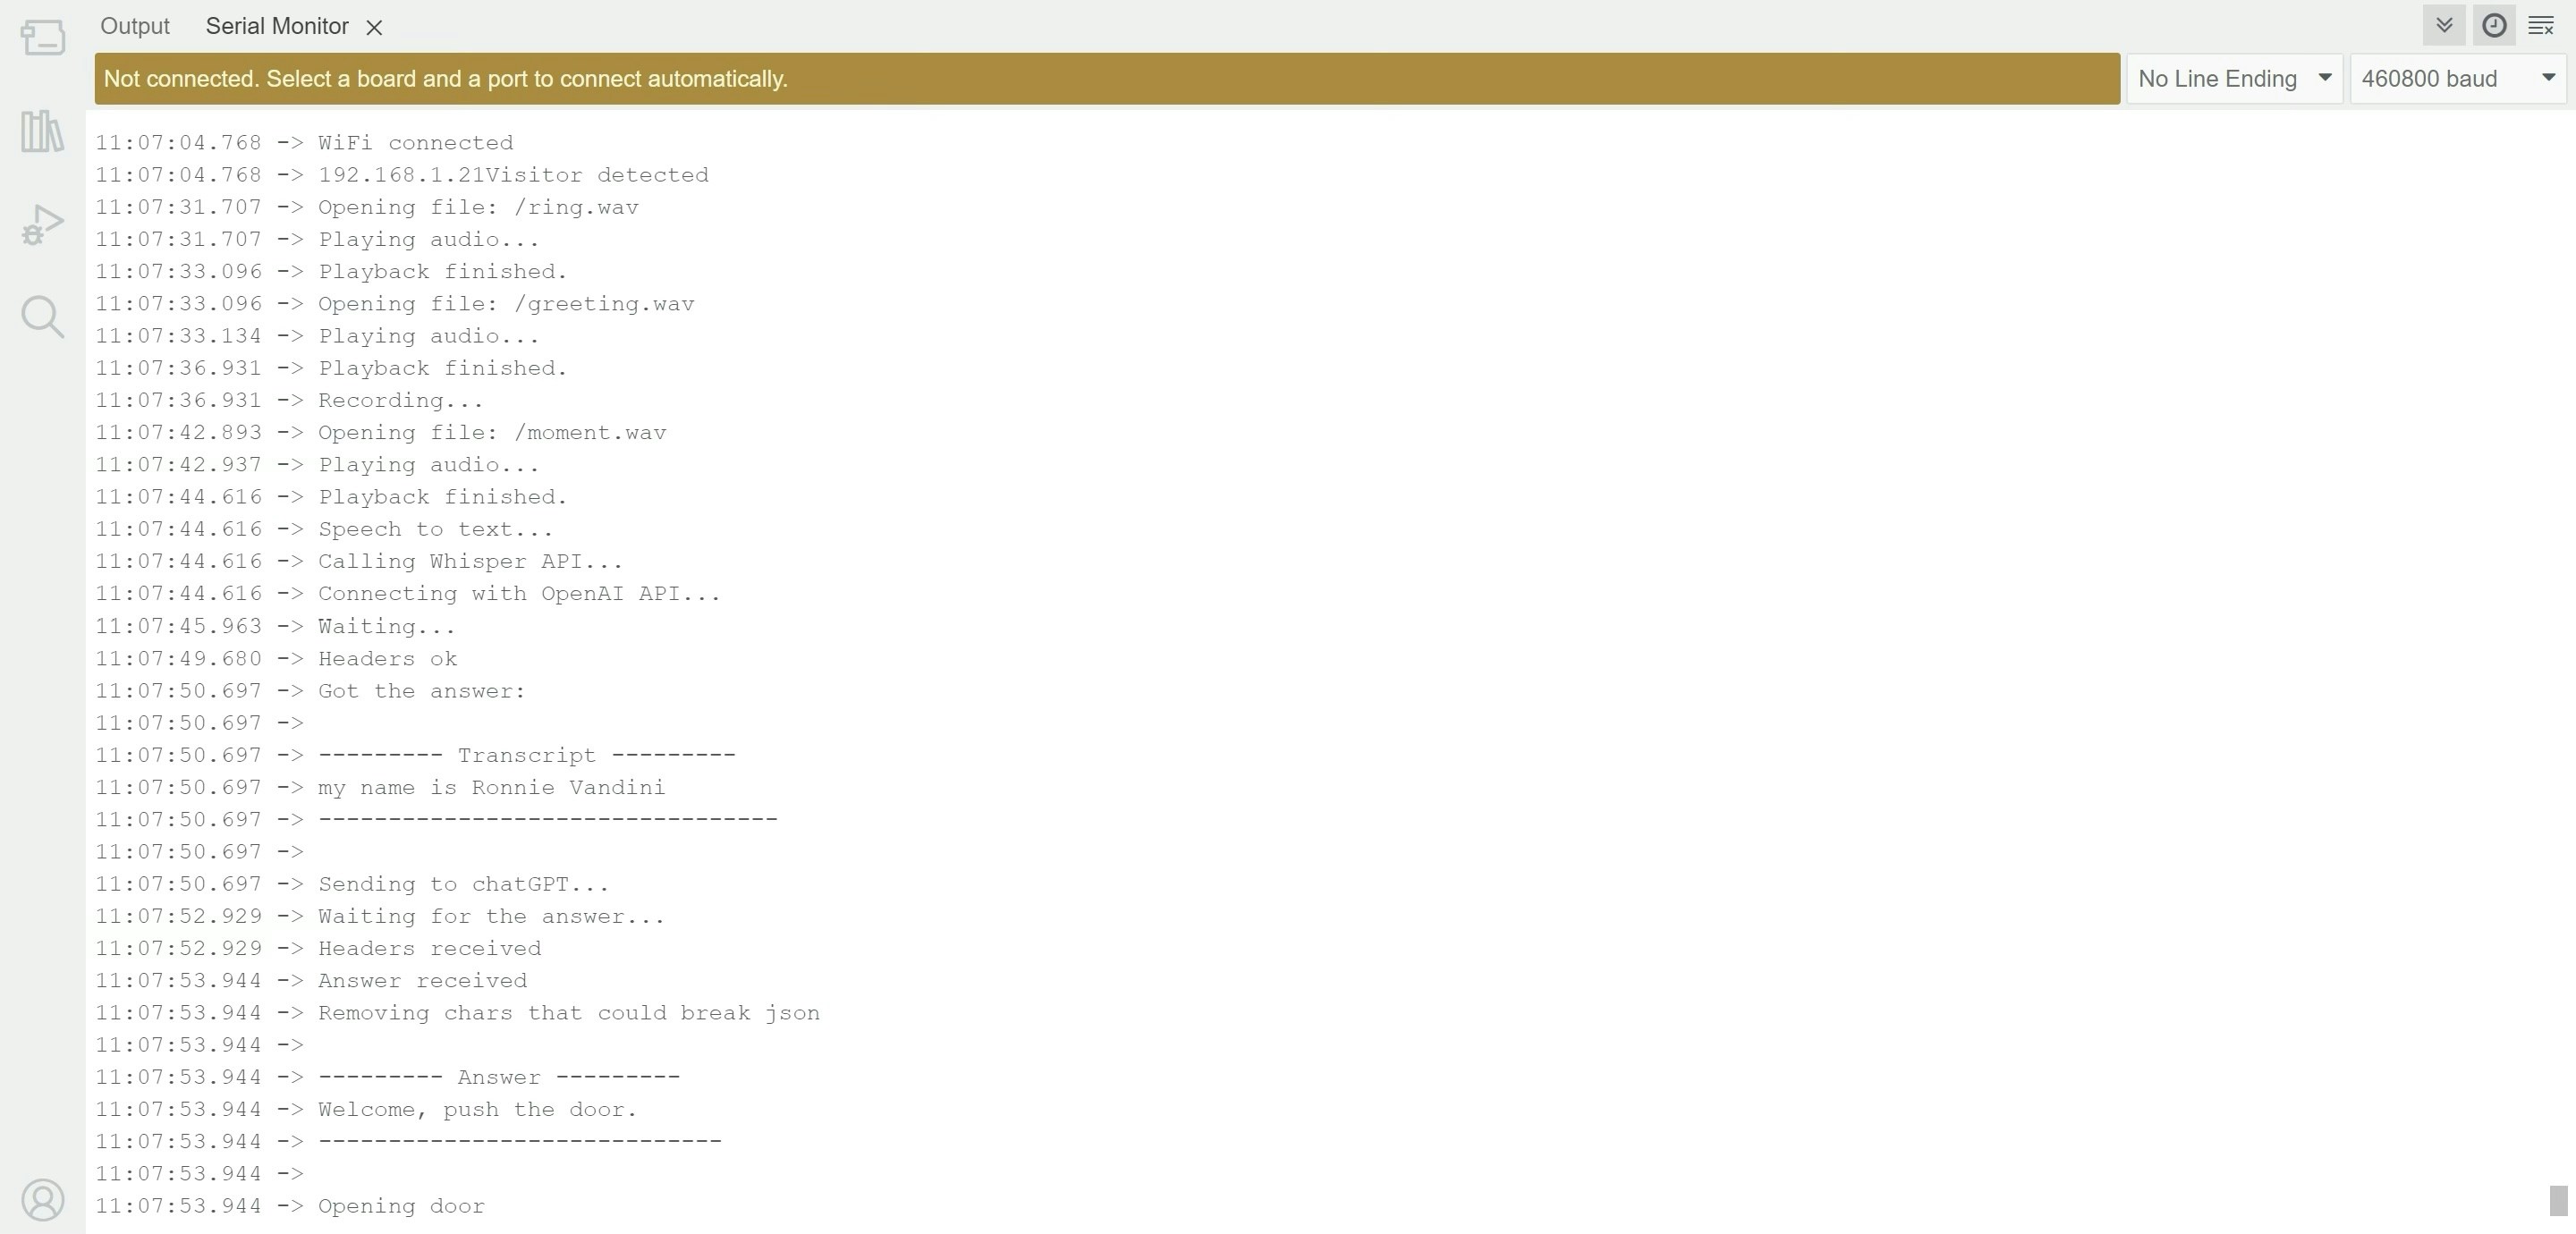
Serial Monitor
Door Relay
The AI module doesn’t have header pins, but you can still connect a relay using the Gravity cable, which exposes:- VCC
- GND
- GPIO 44
- GPIO 43
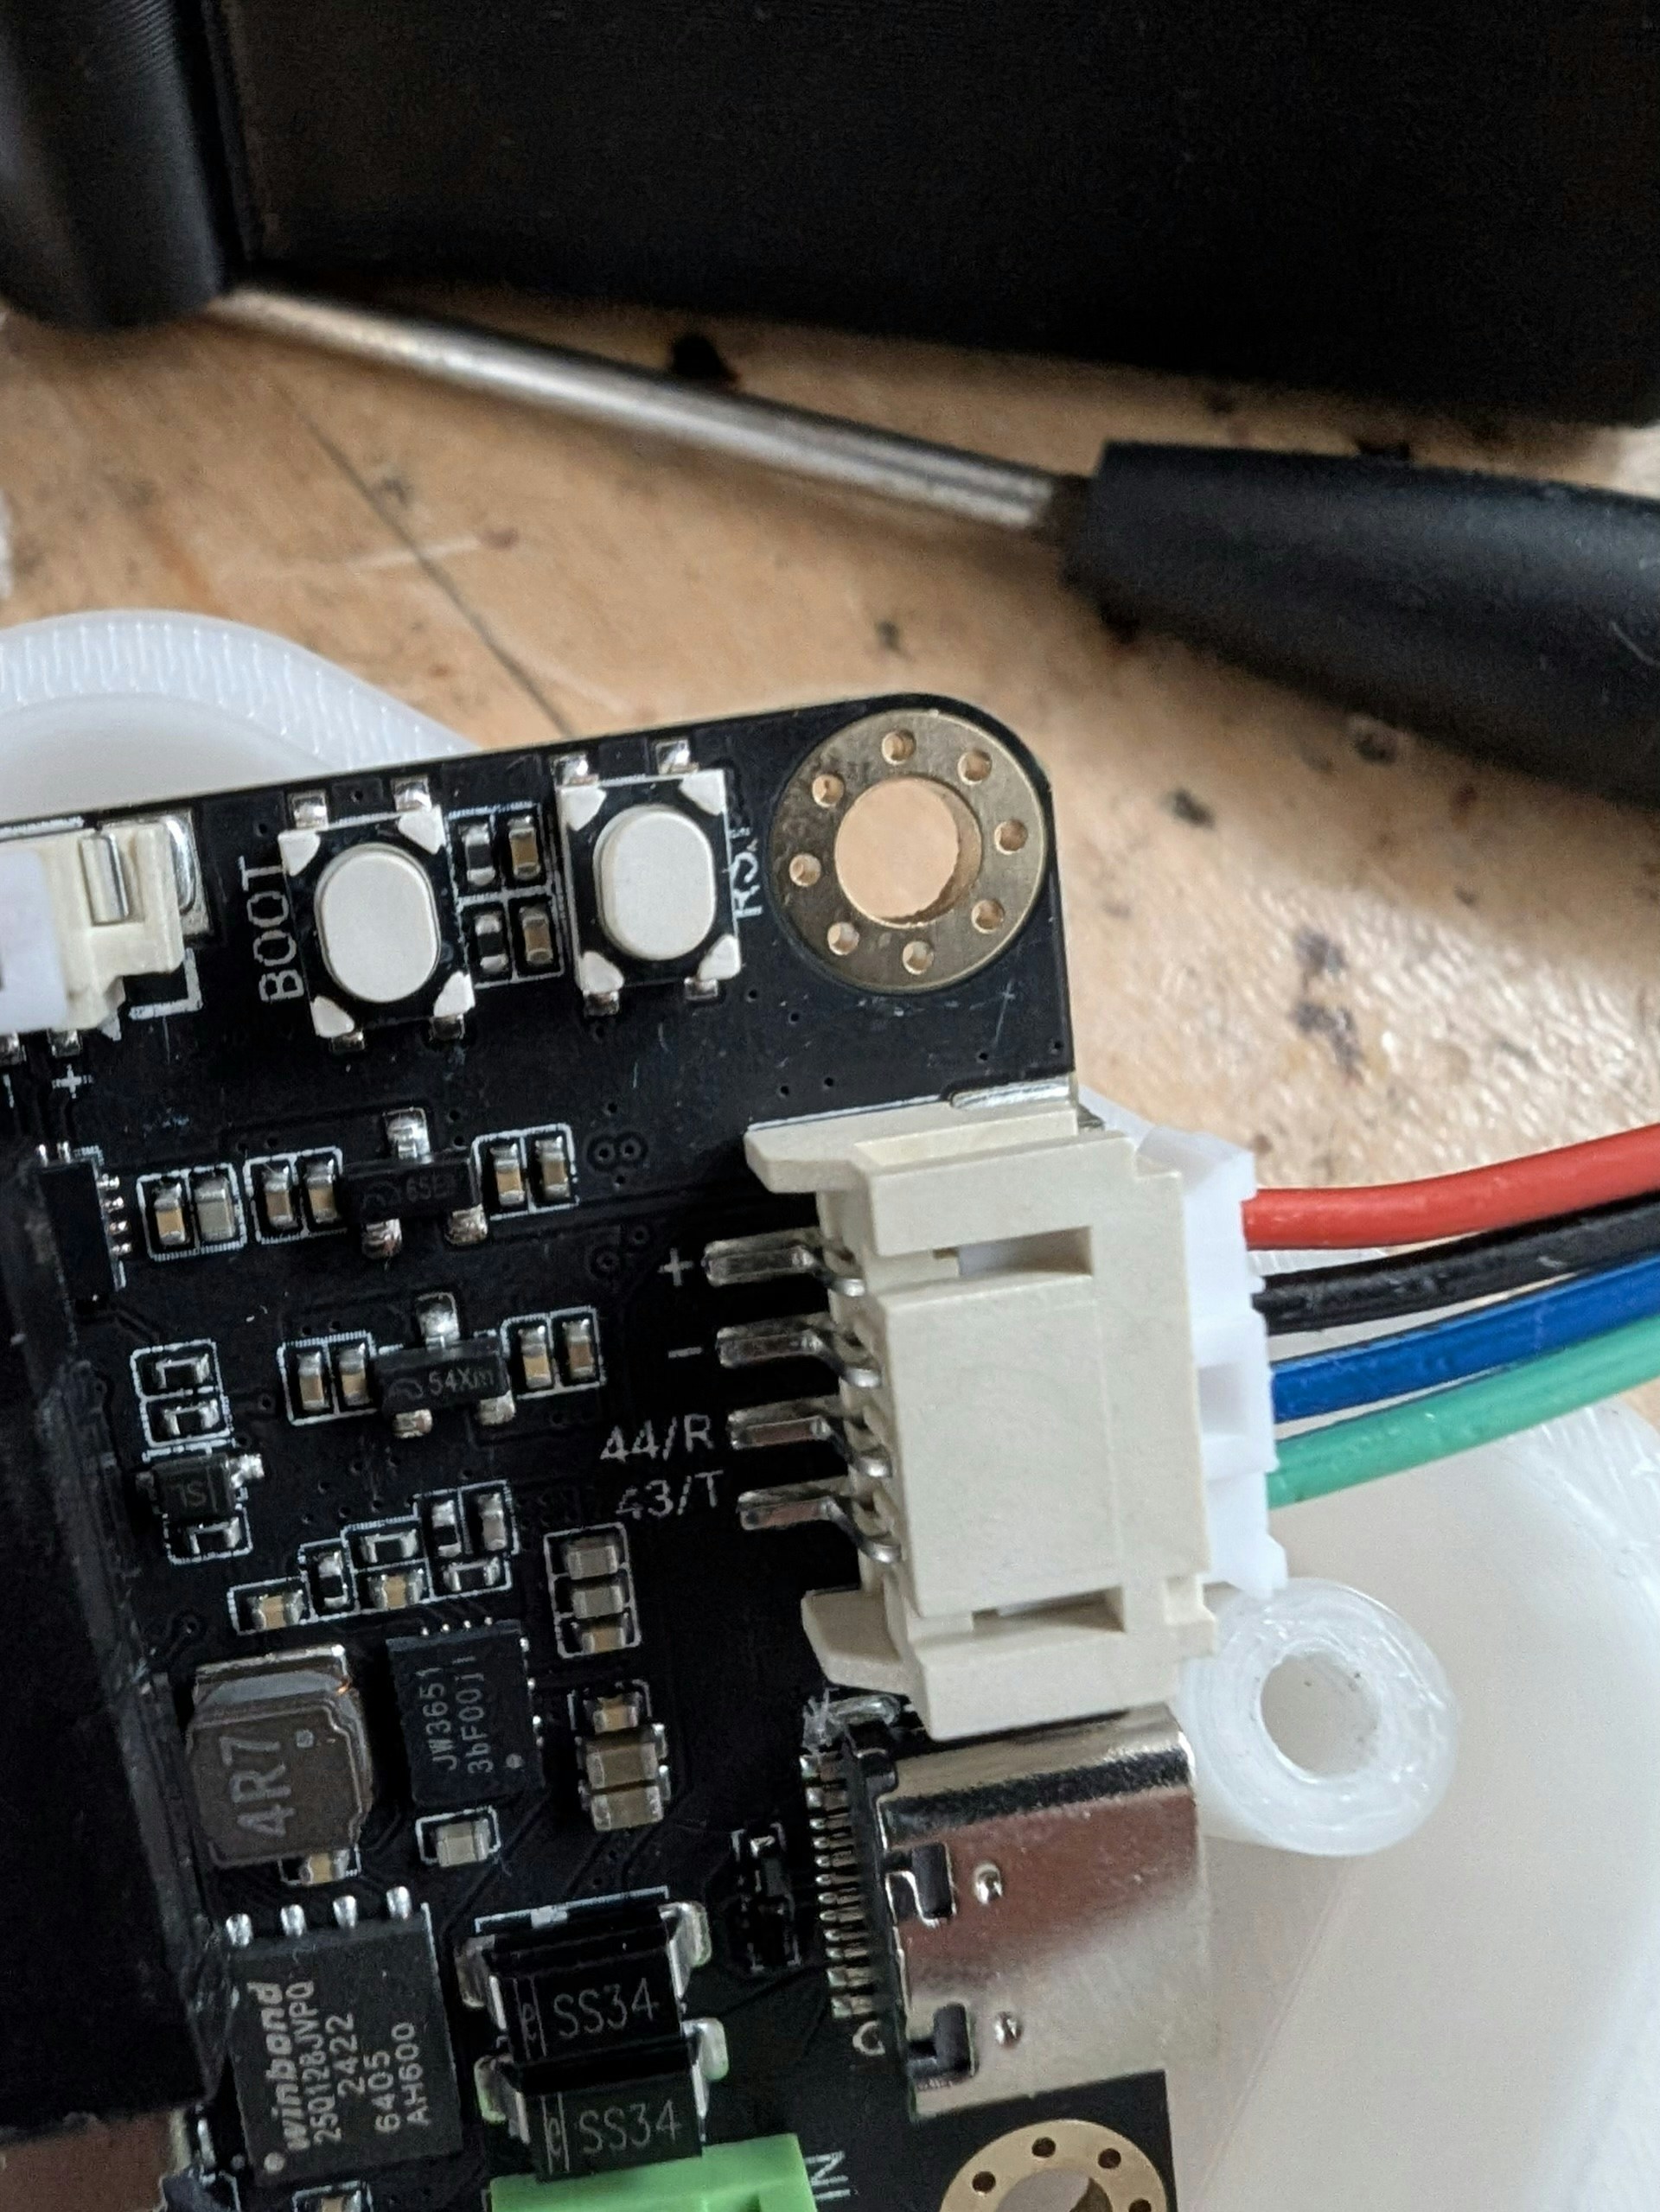
Enclosure
Download the 3D printable case from: https://cults3d.com/en/3d-model/gadget/aibell Print in PLA. No supports needed. Optional: Pause mid-print to change filament color for a custom cover.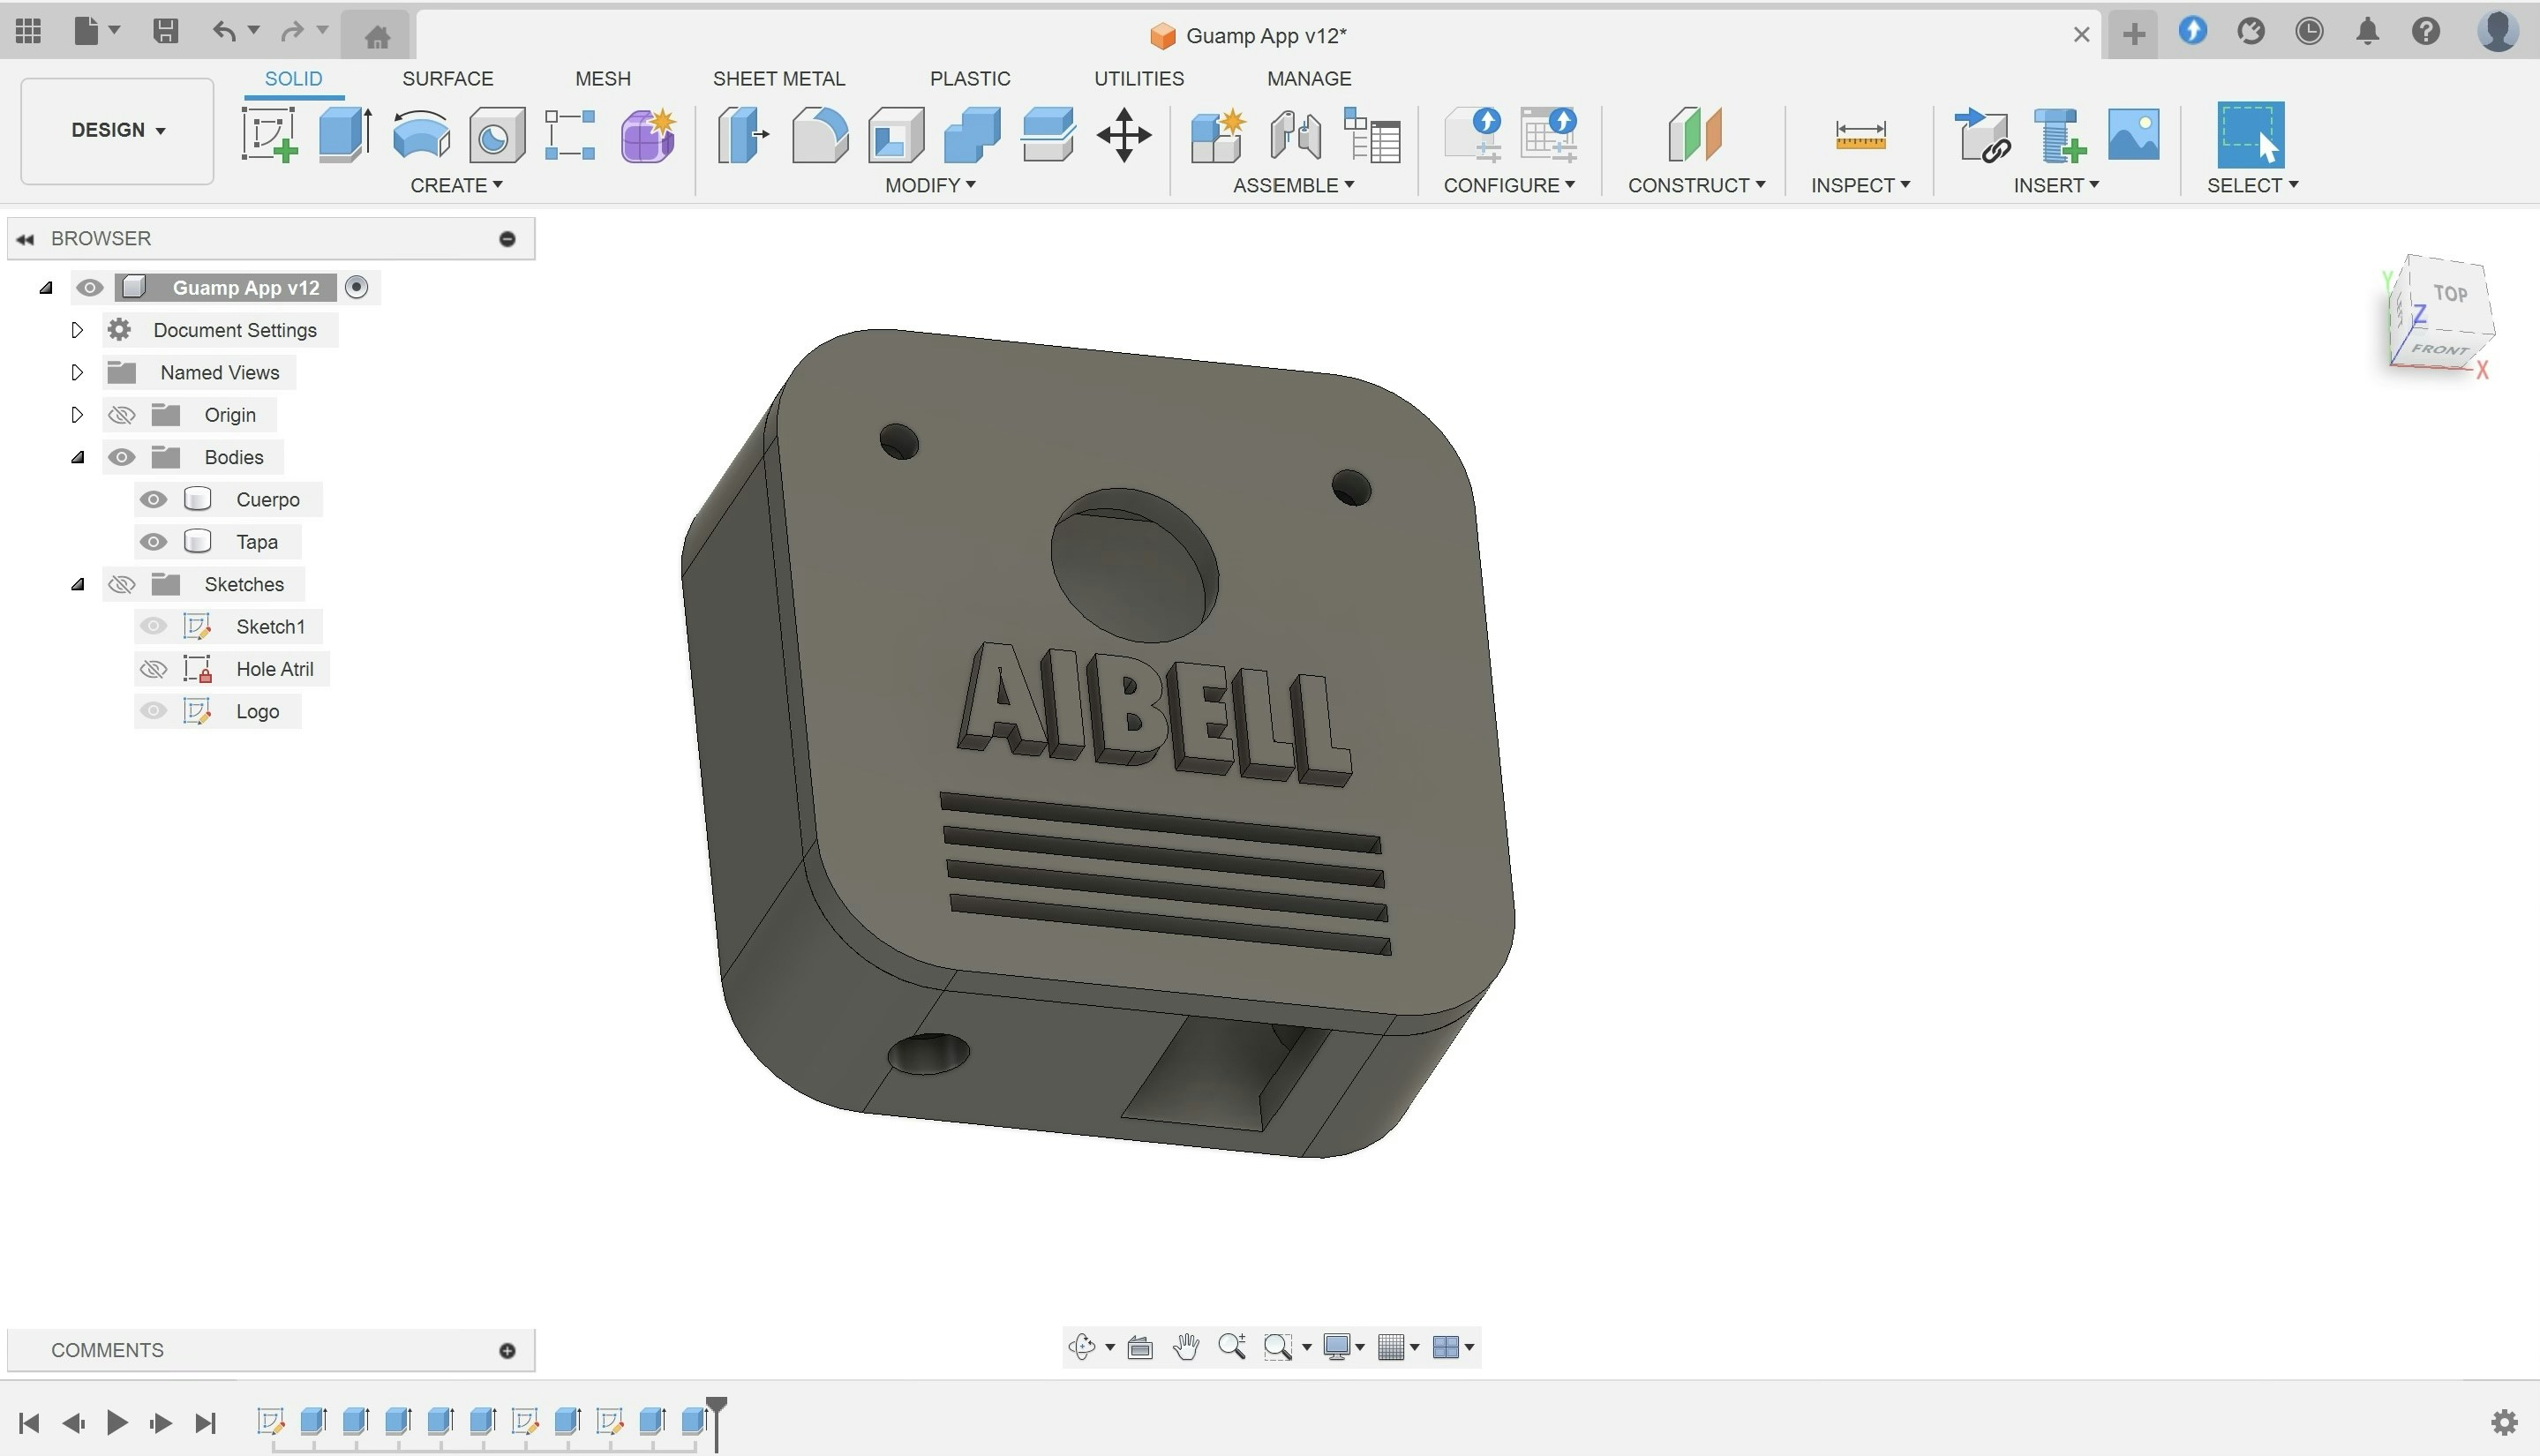
Final Notes
A tiny 1.5” x 1.5” board can:- Run an embedded ML model
- Play WAV files
- Record audio
- Transcribe it with Whisper
- Query a remote LLM
- Control hardware (like a relay)
- Send notifications over Telegram
Room for Improvement
- Replace fixed audio responses with dynamic ones using OpenAI TTS.
- Route transcriptions to n8n to check: — Calendar availability — Authorized visitor list (e.g. Google Sheets) — Complex workflows