Prerequisites
Make sure you followed either the Image classification or the FOMO: Object detection for constrained devices tutorials, have a trained impulse, and can have the latest OpenMV IDE v2.9.0 or above.Compatible camera-boards
- OpenMV Cam M7
- OpenMV Cam H7
- OpenMV Cam H7 Plus
- OpenMV Pure Thermal
- Arduino Portenta H7 + Vision shield
- Arduino Nicla Vision
- OpenMV Cam RT1062
Deploying your impulse as an OpenMV library
This method only works on small image classification models, if you run into a memory issue, please head to Deploying your impulse as an OpenMV firmware section (preferred method). Head over to your Edge Impulse project, and go to Deployment. From here you can create the full library which contains the impulse and all external required libraries. Select OpenMV library and click Build to create the library. Then download and extract the .zip file. To add the model to your OpenMV camera copy thetrained.tflite and labels.txt files to the ‘OpenMV Cam’ volume (like a USB drive).
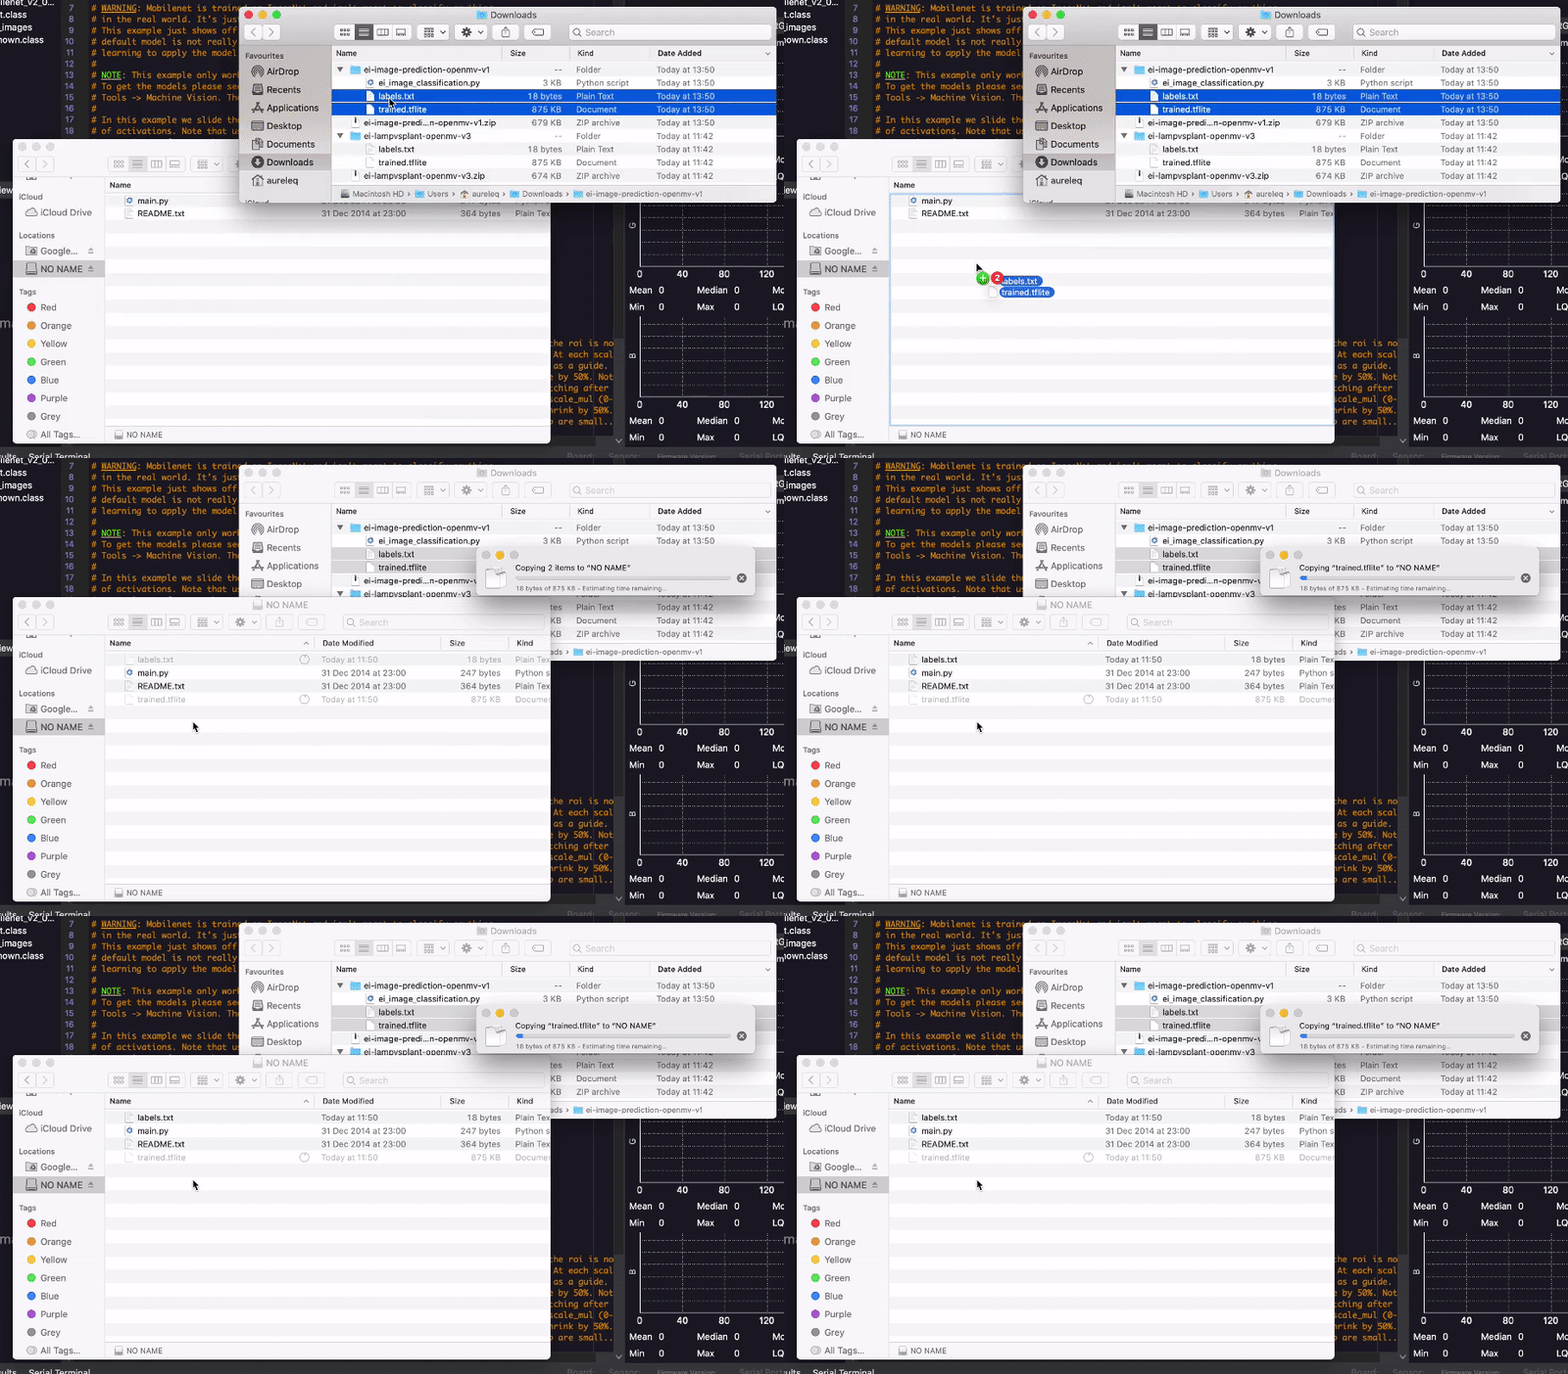
Uploading the trained model to your OpenMV camera
ei_image_classification.py file in the OpenMV IDE, and press the ‘Play’ icon to run the script.
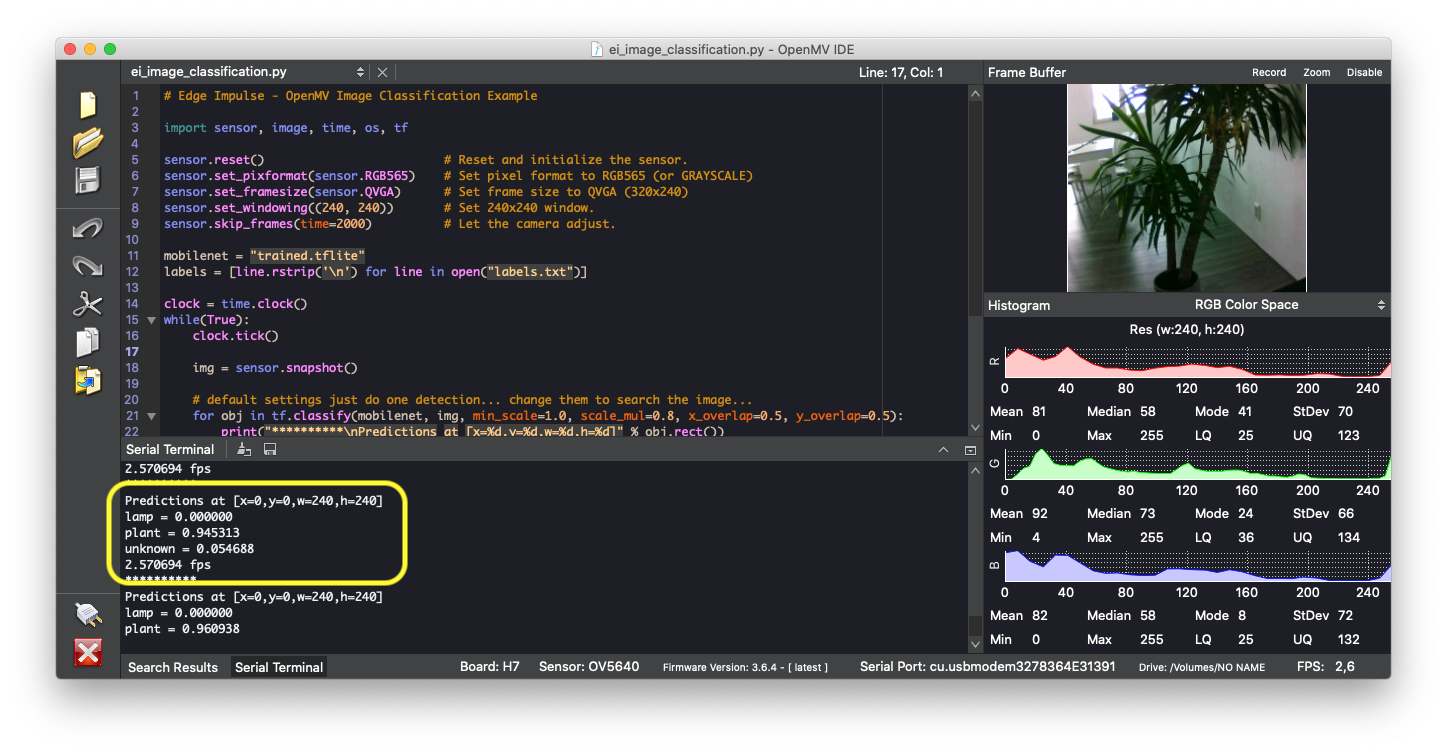
Running your impulse on your OpenMV camera.
Deploying your impulse as an OpenMV firmware
This method is preferred. In this section, we will flash a new firmware to the board that contains only what is necessary to run your impulse. This firmware includes your custom edge impulse model. Head over to your Edge Impulse project, go to Deployment, click on OpenMV firmware and Build: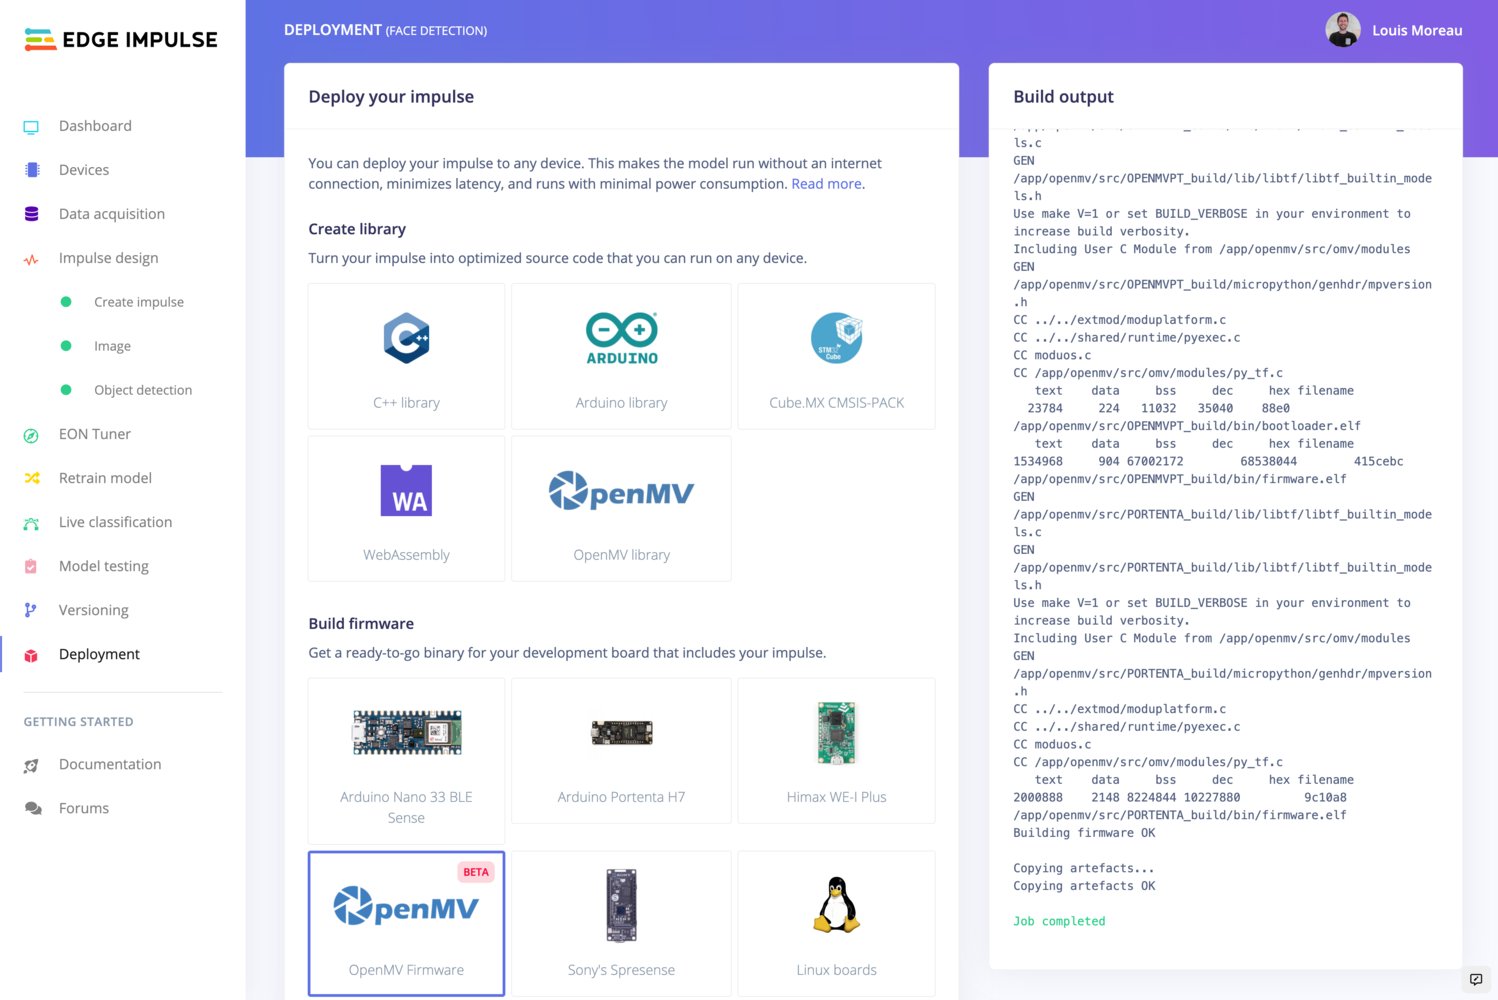
Firmware namingThe naming is likely to change soon to be more explicit. In the meantime, here is the firmware-board correspondence:
- NICLAV - Arduino Nicla Vision
- OPENMV3 - OpenMV Cam M7
- OPENMV4 - OpenMV Cam H7
- OPENMV4P - OpenMV Cam H7 Plus
- OPENMVPT - OpenMV Pure Thermal
- PORTENTA - Arduino Portenta
- RT1060 - OpenMV Cam RT1062
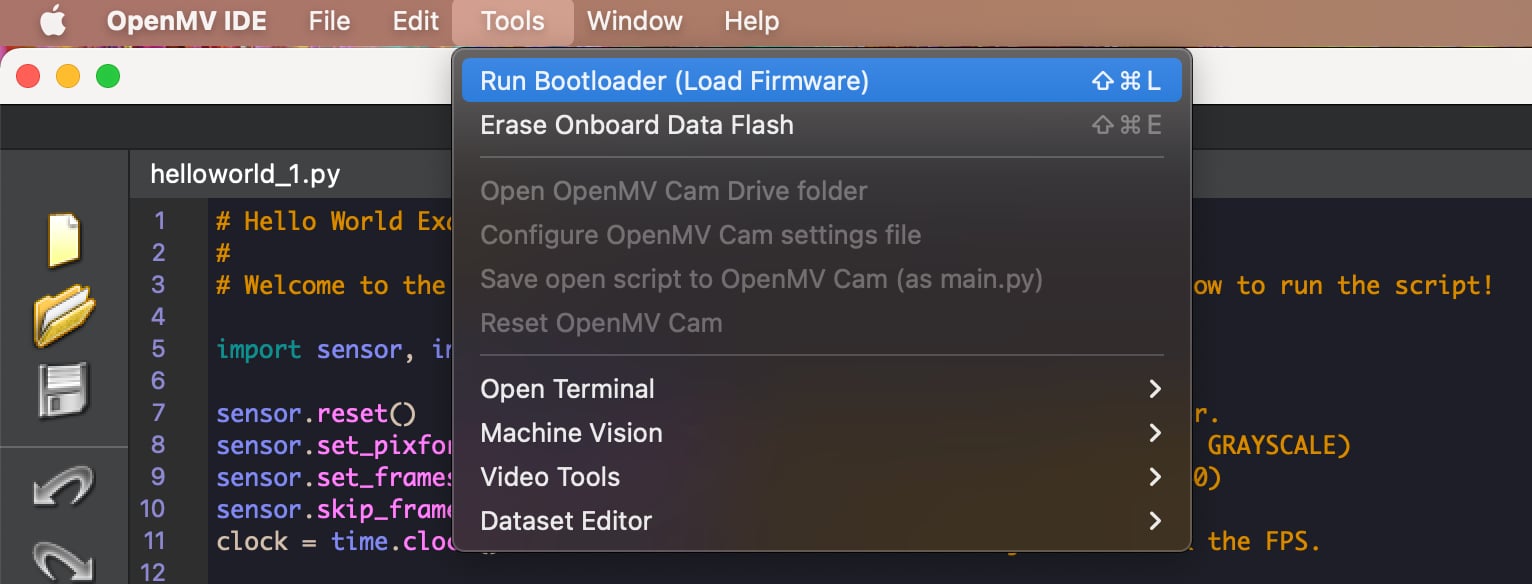
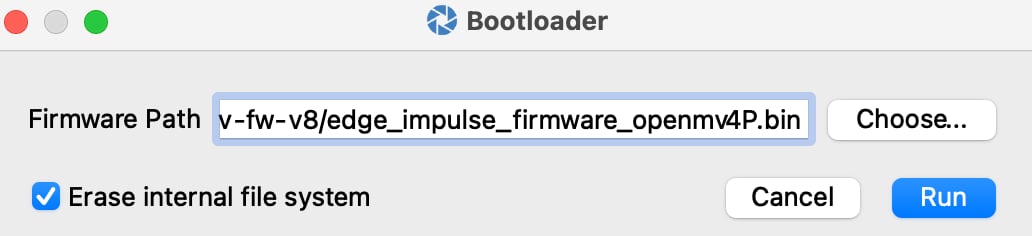
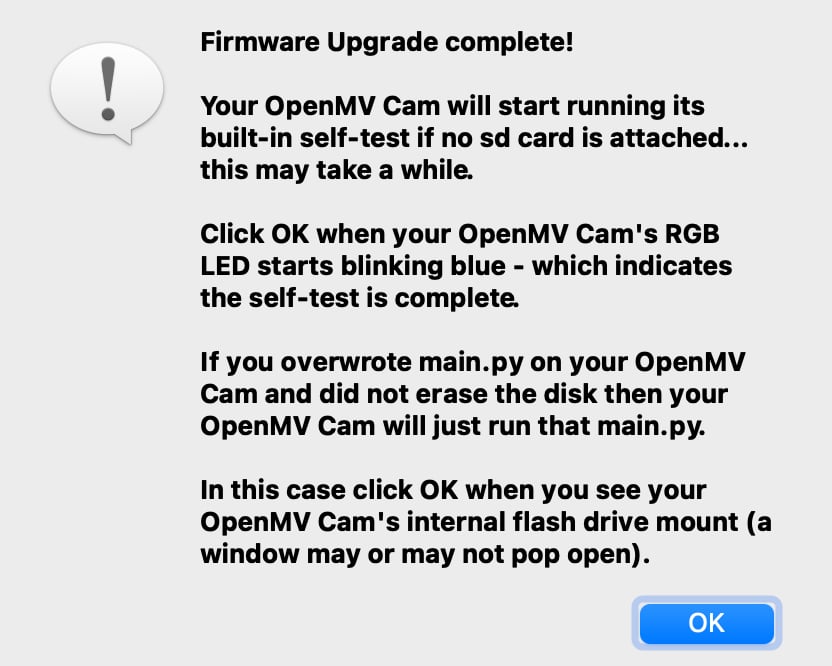
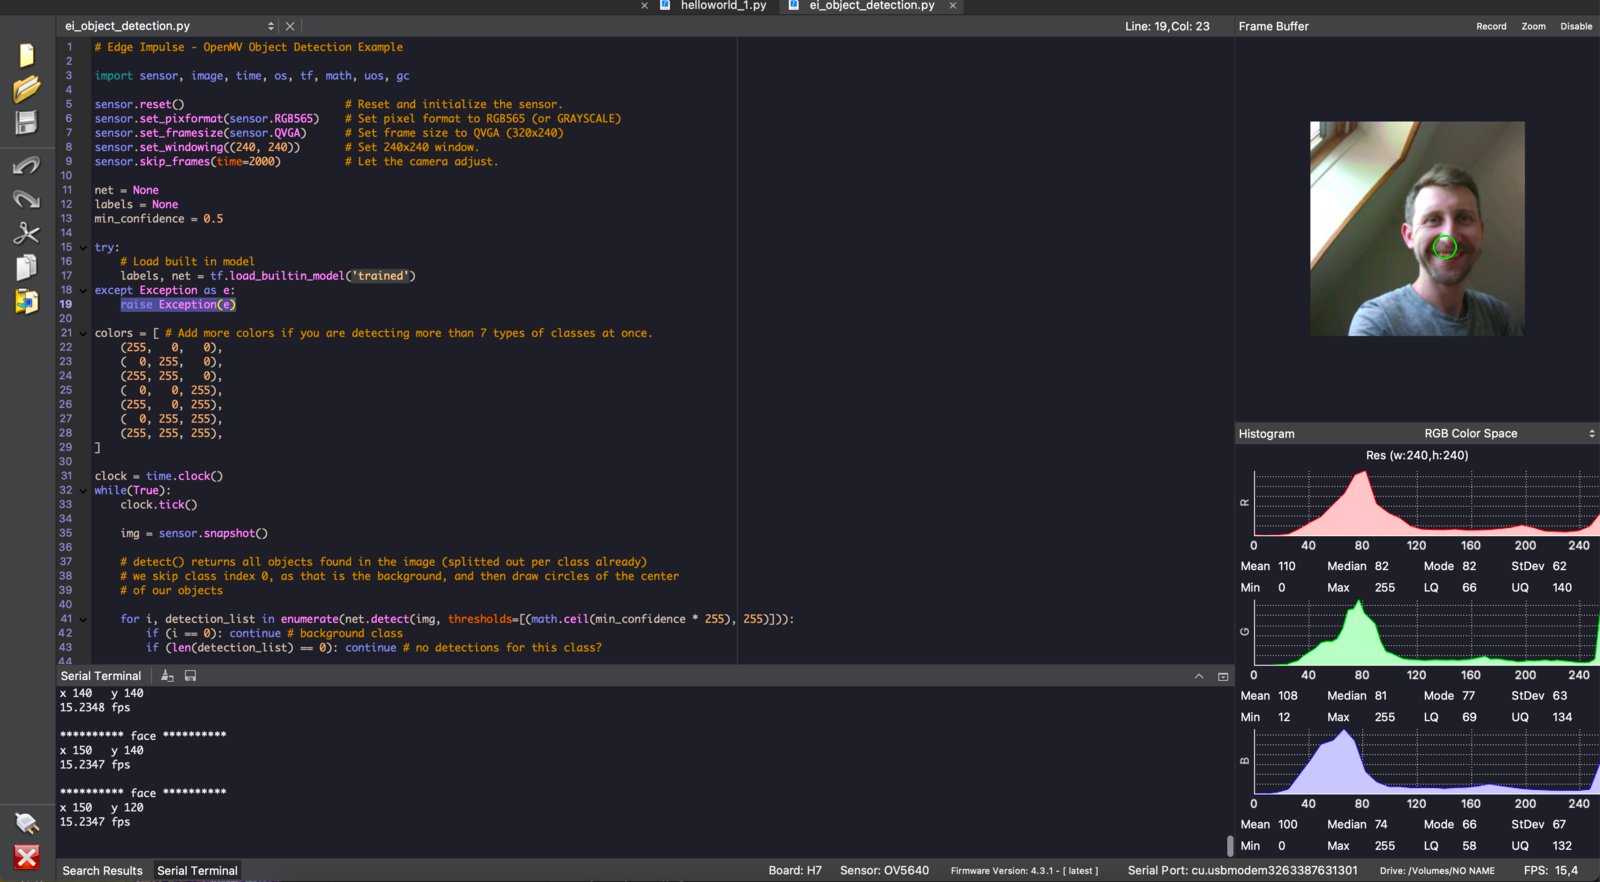
ei_image_classification.py or ei_object_detection.py script provided in the downloaded .zip.
To run the script, click on the “Play” button on the bottom-left corner of the OpenMV IDE.
Troubleshooting
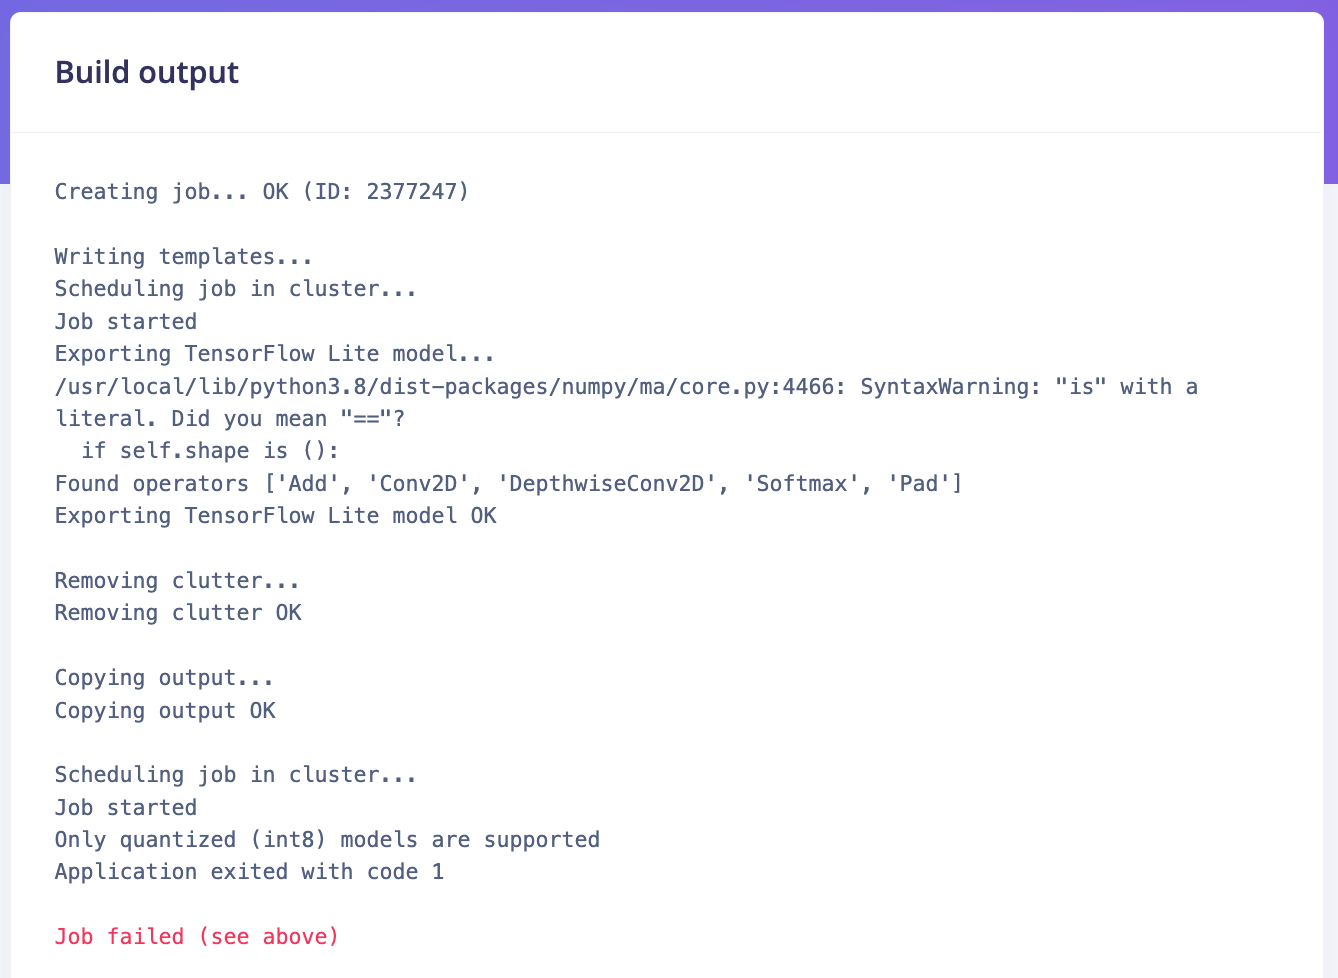
Only quantized (int8) models are supported
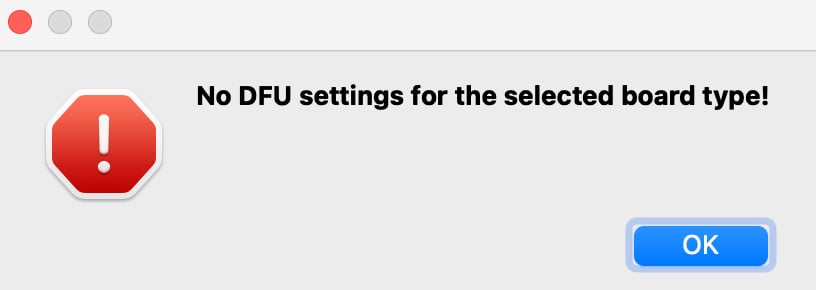
No DFU settings for the selected board type!
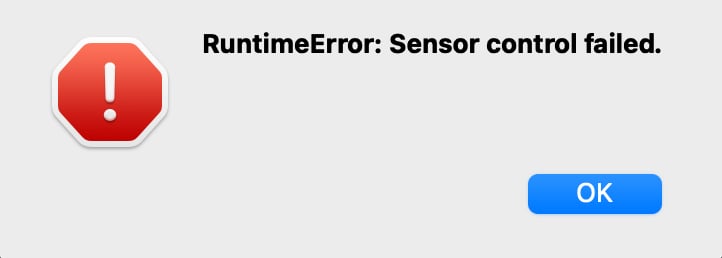
RuntimeError: Sensor control failed.